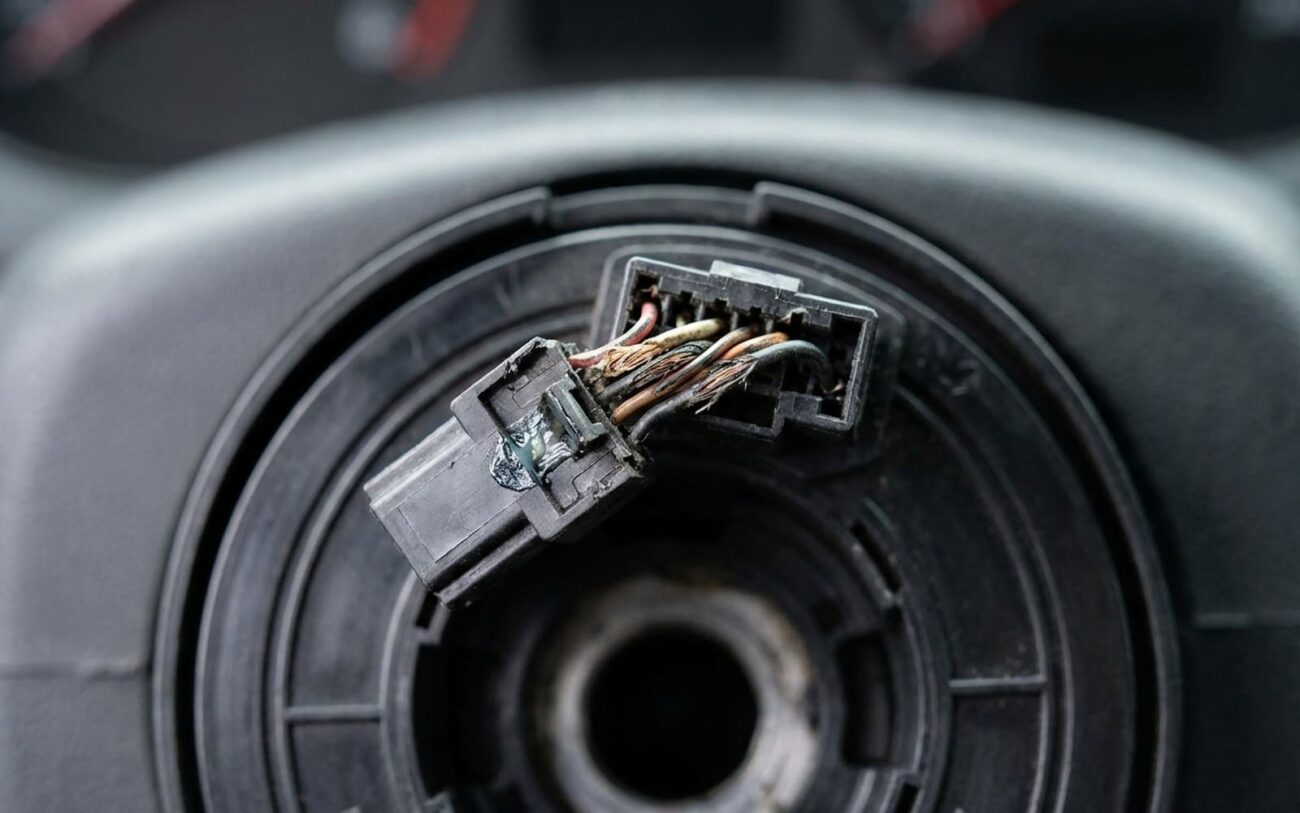
You just dropped a new stereo into your car, fired it up, and the sound is perfect—until you reach for the volume button on the wheel. Nothing. Or worse, it skips tracks. I’ve seen this exact scenario walk into my shop hundreds of times over the last 25 years. Let me tell you: 95% of the time, the problem isn’t broken wires, fried circuits, or a blown clock spring. It’s a communication failure between your steering wheel controls and the new head unit. Think of it like plugging a modern smartphone into an old charger—same idea, wrong protocol. You need a translator. That’s where the interface module comes in.
Start here: What’s actually broken?
Before you touch a single wire, ask yourself: What exactly is the symptom? That answer tells you where to look. I don’t care how fancy the stereo is—if the steering wheel buttons aren’t responding right, you’ve got one of three problems:
-
No response at all — dead silence when you press any button.
-
Wrong function — volume up changes tracks, or mute answers a phone call.
-
Intermittent operation — works when cold, quits when hot, or only when the wheel’s straight.
Each one points to a different fix. And no—your radio install didn’t kill the clock spring. That part wears out from turning the wheel, not from swapping a head unit. But if it was already weak? Yeah, disconnecting the airbag or tugging the harness might’ve been the last straw. So don’t assume the install caused it. Prove it.
The real issue: Signal mismatch
Here’s what most people don’t get: Your factory steering wheel controls don’t send simple “on/off” signals. They talk a language. And that language changed around 2005.
Pre-2005? Most cars used resistance-based steering wheel controls. Each button had a different resistor. Press volume up, and you complete a circuit with, say, 1k ohms. The factory radio sees that and turns it up. Simple.
Post-2005? Nearly every car uses CAN bus. That means your steering wheel buttons aren’t sending voltage—they’re sending digital messages over the same network that controls your wipers, doors, and instrument cluster. It’s like texting instead of yelling across the room.
Now you drop in an aftermarket head unit. That unit? It only speaks the old resistance language. It can’t read CAN bus messages. So when you press a button, nothing happens. Or worse—it misreads the signal and does the wrong thing.
The fix? An interface module. Devices like the iDatalink Maestro, PAC RP4, or Axxess ASWC act as translators. They sit between the factory harness and your new radio, converting CAN bus messages into resistance signals (or direct keypress inputs). No module? You’re speaking two different languages.
Diagnosis: Find the real source
| Symptom | Likely Cause | Definitive Test |
|---|---|---|
| No response from any button | Missing 12V to interface, bad ground, SWC disabled in head unit, or open circuit in signal wire. | Back-probe the SWC wire at the head unit harness with a multimeter. Press a button. If the voltage or resistance doesn’t change, the issue is upstream—either the clock spring, steering wheel pad, or interface. If it does change, the head unit isn’t interpreting it (likely missing or misconfigured interface). |
| Buttons do wrong things | Interface programmed for wrong vehicle, incorrect learn mode, or wrong protocol (e.g., using a resistance emulator on a CAN bus system). | Measure resistance across each button at the factory harness. Compare to specs in the interface manual. If values don’t match, it’s a config issue. On a 2018 Silverado I did last month, the installer used a generic Toyota setup—no wonder mute turned on Bluetooth. |
| Intermittent function | Loose crimp, failing clock spring, or bad connection in the column harness. | Wiggle test: Connect your multimeter, press a button, then gently move the harness and connectors. If the signal drops, it’s your wiring. Then turn the wheel lock-to-lock. Signal drop during turning? Clock spring is done. I see this weekly on 2010–2014 Fords—their clock springs are junk. |
How to fix it—right the first time
Install the correct interface module
Reprogram or re-learn the module
Fix broken wiring or connections
Replace a dead interface module
Wireless workaround (last resort)
Verify the fix—don’t guess
Don’t just test one button and call it good. I’ve seen guys do that, close the dash, and get a callback in two days.
Test every button with a multimeter on the head unit harness. Confirm the signal changes cleanly. Then do a wiggle test—grab every connector and harness section. No dropouts. Then take it for a 15-minute drive. Use the controls while turning, over bumps, switching inputs. If volume jumps or a button doubles, you’ve got noise or a bad ground.
And if the volume button mutes the audio? That’s not normal. That’s incorrect mapping or electrical interference. Go back and recheck the programming.
Cost and time—real numbers
| Repair | DIY Cost | Shop Cost | Success Rate |
|---|---|---|---|
| Install correct interface | $50–$150 | $200–$400 | 95% (if supported) |
| Fix wiring | <$20 | $100–$200 | 98% |
| Wireless workaround | $30–$80 | N/A | 70% functional |