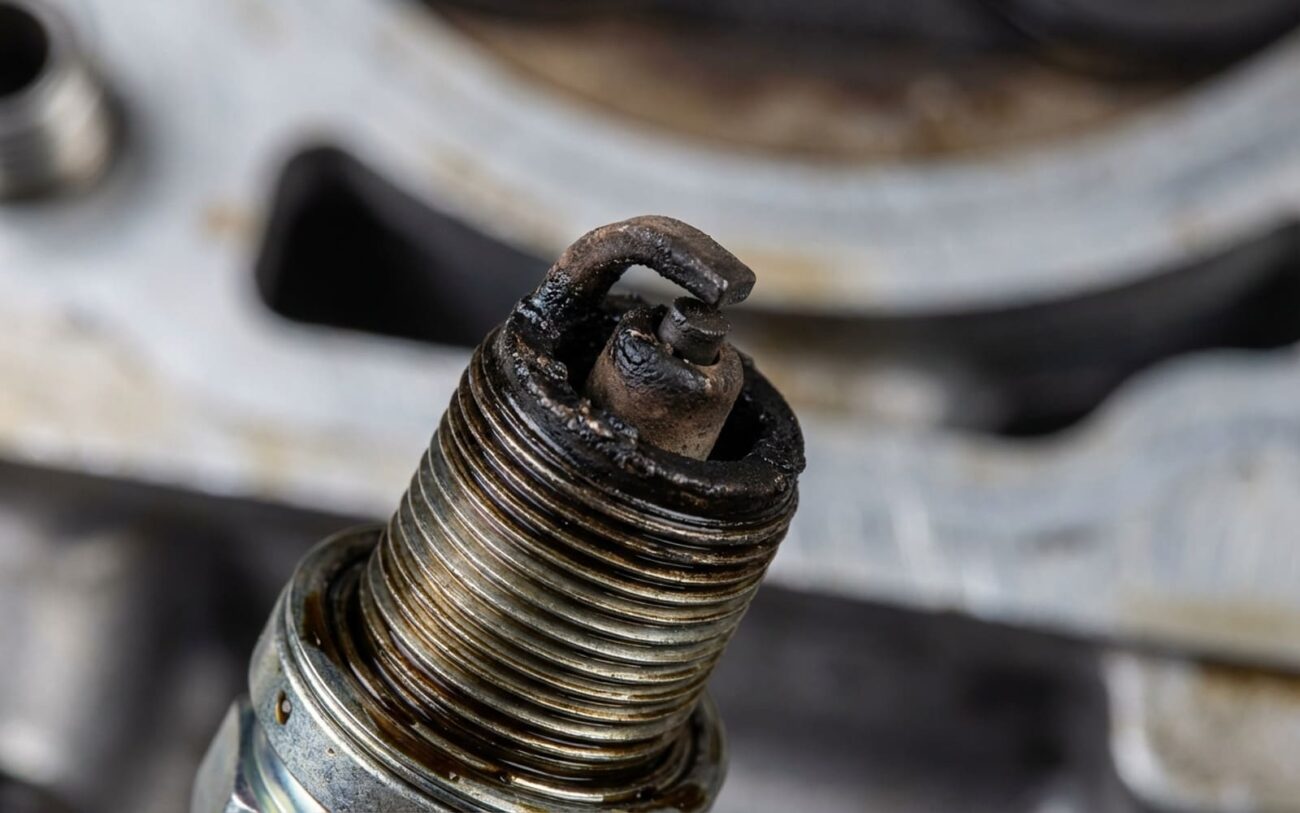
Alright, let’s talk about that cold start misfire. You know the one—your engine shudders and chugs on a cold morning, maybe the check engine light flashes at you, and then, just a few minutes later, everything smooths out like nothing ever happened. I’ve seen this exact scenario play out thousands of times over my 25+ years in the shop, and I can tell you, it’s not just a minor annoyance. If you’re seeing white vapor from the exhaust with that misfire, you might be looking at something far more serious than a bad spark plug.
The Cold Start Misfire: What It Means
A true cold start misfire is pretty distinct. It only happens when the engine is stone cold, usually for the first two to five minutes after startup. Your engine control module (ECM) is almost certainly going to catch this, throwing a diagnostic trouble code (DTC) like P0300 (random/multiple misfire) or a specific cylinder code (P0301, P0302, etc.). These codes, especially when they only show up on cold starts, are your first big clue.
Now, about that white stuff from the exhaust. A little puff of white vapor on a cold morning is usually just condensation burning off—nothing to worry about. But if it’s thick, persistent, and smells sweet, like maple syrup, that’s coolant. And if coolant is getting into your combustion chamber, that’s a problem you absolutely cannot ignore.
My Diagnostic Approach: Don’t Guess, Test
Before you even think about pulling a head, we need to be sure what we’re dealing with. Many technicians—and I’ve been guilty of it early in my career—jump straight to a head gasket. But a cold misfire with coolant can be a cracked head, a faulty intake manifold gasket, or even a problem with the block itself. The key is systematic diagnosis.
Step 1: Rule Out the Easy Stuff First
I always start here. Ignition and fuel components are notorious for acting up when cold and improving as they warm up. A weak ignition coil might not fire consistently until it heats up, or a fuel injector could be sticking when cold. I’ll check:
-
Spark Plugs: Are they fouled? Are they the right heat range and gapped correctly?
-
Ignition Coils: I’ll often swap coils between cylinders to see if the misfire moves.
-
Fuel Injectors: A cold-sticking injector can cause a misfire. I’ll check fuel trims and sometimes do an injector balance test.
-
Vacuum Leaks: These can lean out a cylinder, especially when cold.
A compression test or, even better, a leak-down test can help differentiate between a mechanical issue (like a valve or ring problem) and an ignition or fuel delivery problem. But remember, a block issue often won’t show up on a standard compression test unless the crack is severe.
Step 2: Confirming a Coolant Leak (and Pinpointing It)
If you’ve ruled out the usual suspects and you’re still seeing that sweet-smelling white smoke, it’s time to confirm coolant in the combustion chamber. This is where the real work begins.
My Go-To Tests for Coolant Leaks:
- Cold Cooling System Pressure Test: This is critical. With the engine stone cold, I’ll pressure test the cooling system to 16-18 psi (check your vehicle’s specific cap pressure). Then, I’ll let it sit for several hours, sometimes overnight. If the pressure drops, you have a leak.
- Borescope Inspection: While the system is pressurized and cold, I’ll pull the spark plug from the misfiring cylinder (or all of them if P0300) and snake a borescope down there. I’m looking for coolant droplets on the piston top or staining on the cylinder wall. This is often the smoking gun for a crack or porosity.
- Combustion Gas Tester (Block Tester): This chemical test on the coolant reservoir will change color if exhaust gases are present in the coolant. A positive result confirms an internal leak, but it won’t tell you where it is. Use it in conjunction with the borescope.
The key here is doing these tests when the engine is cold. Cracks in the block or head often expand and seal up when the engine warms, making them much harder to detect.
When It’s the Block: Structural Failure
If your testing confirms coolant is entering the combustion chamber, and it’s not a head gasket or obvious cracked head (which is a separate component, by the way), then you’re likely dealing with a structural failure in the engine block itself. This isn’t just a seal. This is the metal.
I’ve seen these failures for a few common reasons:
- Casting Porosity: This is tiny voids in the metal from the manufacturing process. They might be microscopic at first, but over time, they can open up and start leaking. I’ve seen this quite a bit in some Ford EcoBoost and GM HFV6 engines.
- Thermal Stress Cracking: Repeated overheating, or even one severe overheat event, can cause microscopic cracks in the cylinder walls. These often show up between cylinders.
- Electrolytic Corrosion: Using the wrong coolant, or not maintaining it, can lead to electrolysis. This is basically an electrical current eating away at the aluminum block, creating pinholes.
- Core Shift in Casting: Another manufacturing defect where the internal sand core shifts during casting, leaving one part of the cylinder wall dangerously thin. It’s rare, but it happens.
It’s important to understand that none of these are “fixable” with a can of stop-leak or even a new head gasket. This is a deep-seated problem.
Your Repair Options: The Reality Check
No Easy Fixes Here
Once the engine block itself is compromised, you’re looking at some serious work. There are no “quick fixes” for internal structural cracks that I would ever recommend to a customer.
Here’s what you’re really looking at for repairs:
External Epoxy or Sealant Repair High Risk
Internal Damage – Replace Short or Long Block
Catastrophic Structural Failure – Full Engine Replacement
Don’t Skip This: Post-Repair Validation
Once you’ve done a major repair like this, you can’t just assume it’s fixed. You need to validate the repair. I always run through this checklist:
My Post-Repair Checklist
-
Perform a 30-minute cooling system pressure test, cold. The system absolutely must hold steady pressure without any drop.
-
After several cold starts and drive cycles, use a combustion gas tester on the coolant reservoir. It should show no signs of exhaust gases.
-
Monitor for any misfire codes (P030X) during multiple cold-start cycles. Drive it like you normally would.
-
Run a coolant test strip to check for hydrocarbons. Levels below 0.1% are what you’re looking for to confirm no combustion gas leakage.
The Hard Math: Is It Worth It?
Let’s be blunt about the costs. These aren’t cheap repairs, and sometimes, the best repair is to walk away.
| Repair Type | DIY Cost Range | Shop Cost Range | My Success Rate Estimate | Secondary Risk |
|---|---|---|---|---|
| External epoxy/sealant | $50 – $150 | $500 – $1,000 | < 30% (for internal leaks) | Leak returns, overheating, potential hydrolock, internal damage. |
| Block/Short block replacement | $2,500 – $6,000 | $4,500 – $9,000+ | > 95% (if done correctly) | Installation errors: timing, torque, oil starvation, collateral damage. |
| Full engine replacement | $3,500 – $8,000+ | $6,000 – $12,000+ | > 98% (new/reman engine) | Similar to block replacement, plus cost of new accessories. |
My Financial Reality Check
Here’s my rule of thumb: if the repair cost is going to exceed 60% of your vehicle’s current private-party market value (not what you paid for it, what it’s worth today), you really need to consider if it makes financial sense. Sometimes, the smarter move is to put that money towards a replacement vehicle. I hate telling people that, but it’s the truth.
How to Keep Your Block Healthy
Prevention is always, always cheaper than repair. Most block failures don’t just happen overnight; they’re often the result of neglect or ignoring early warning signs. Here’s what I tell my customers:
-
Use the Correct Coolant: This is huge. Always use the OEM-specified coolant for your vehicle, and always mix it 50/50 with distilled water. Tap water has minerals that cause corrosion. The wrong coolant can cause electrolytic corrosion and cavitation.
-
Overheating is an Emergency: If your engine starts to overheat, pull over immediately and shut it down. Even one severe overheat can cause thermal stress cracks in the block or head. Don’t try to “make it home.”
-
Regular Visual Inspections: During every oil change, take a good look around the engine. Look for any weeping coolant, rust stains around freeze plugs, or unusual leaks. Catching a small external seep early can prevent a major internal problem.
-
Don’t Ignore the Check Engine Light: If that light comes on, especially with a P030X code, get it diagnosed. Don’t wait until a small misfire or seep turns into a full internal leak and a ruined engine.
