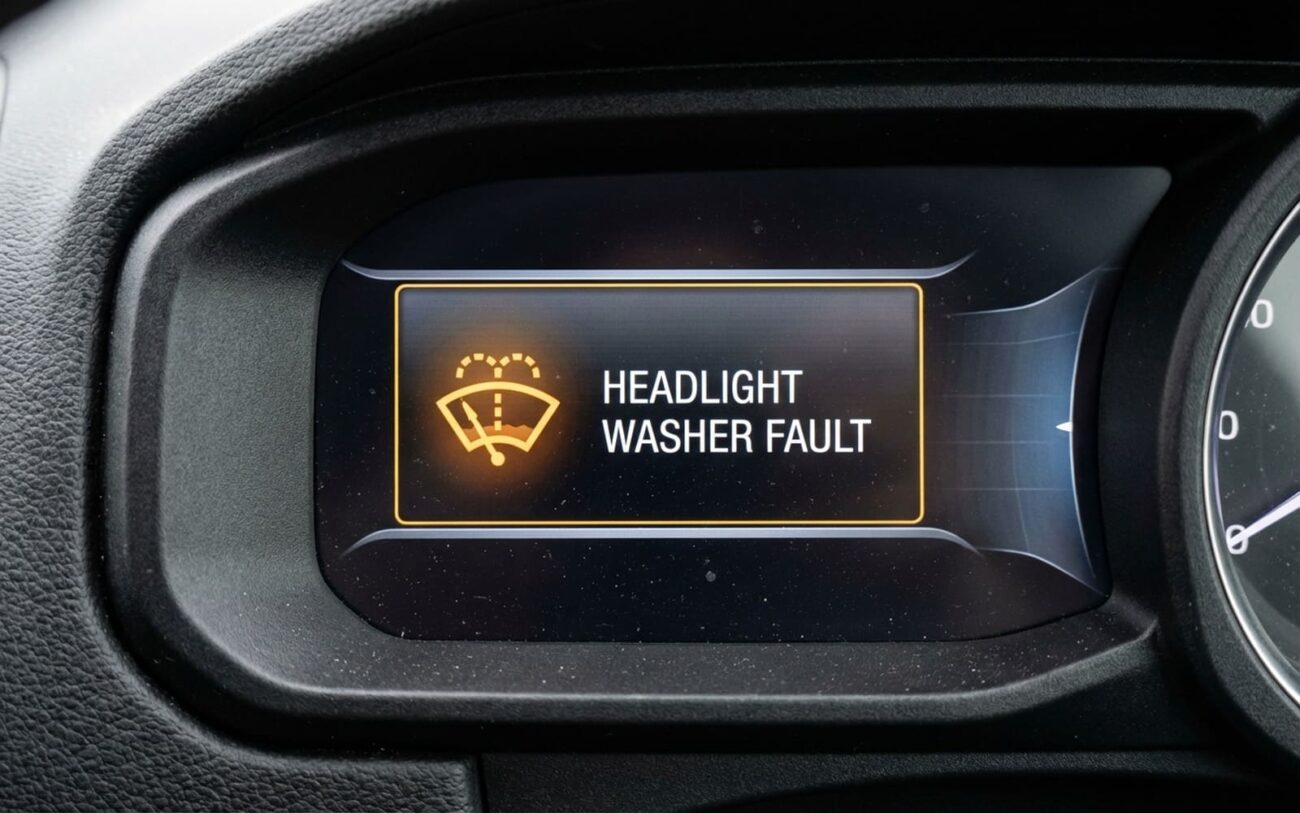
Headlight washers don’t work? You hit the stalk, and nothing. No spray, no sound—just silence. I’ve been there, under a hundred frozen German bumpers, and let me tell you: this isn’t some luxury gimmick. On a car with adaptive LEDs or HIDs, a dirty lens scatters light like a fog machine. You’re not just hurting your own vision—you’re blinding others. And in Europe, that’s an instant fail at inspection. But more than that, ignoring it can burn up a control module or leak fluid into wiring you’ll never dry out. So don’t blow it off. Let’s fix it right.
First: Listen. Seriously.
Before you touch a wrench, stand by the front bumper while someone hits the washer. Where’s the pump? Usually tucked behind the wheel liner, near the washer reservoir. You’re listening for one thing: does it hum?
If you hear a whir but no spray—pump’s alive. That means the problem is downstream. Empty tank? Frozen fluid? Clogged filter? Kinked hose? I’ve pulled pumps that looked fine, only to find the inlet screen gummed shut with sludge from cheap fluid. Methanol-heavy mixes break down over time, leave a gel. Don’t skimp on washer fluid.
If it’s dead silent—no click, no hum—then it’s electrical or command-related. Could be a blown fuse, fried relay, wiring chewed by rodents (yes, really), or a dead pump. But here’s what most people miss: on BMWs, Audis, even some Mercs, you can disable the headlight washers in the iDrive or MMI menu. I’ve seen three cars this year come in with “failed pumps” that were just turned off in software.
And if it’s cold out and you keep mashing the stalk? Stop. If the fluid’s frozen inside the pump, you’re not just spinning a motor—you’re loading the BCM’s output circuit. Do that enough, and you fry the control module. Now you’re looking at $600 instead of $60. Let it thaw. Use a hair dryer on the reservoir if you have to. Patience beats parts.
Diagnose Like a Pro—Not a Parts Swapper
I don’t guess. I test. You need two tools: a digital multimeter and a scan tool that can talk to the BCM or convenience module. These systems are tied into the car’s brain. Sometimes the BCM kills the pump because of a fault code you won’t see without a scan.
Here’s how I break it down in the shop:
| Symptom | Likely Pump Issue | Common External Causes | Definitive Test to Confirm |
|---|---|---|---|
| No pump operation noise | Pump motor open circuit or internal seizure | System disabled in settings, blown fuse, faulty relay, wiring break, BCM output failure |
1. Check vehicle settings menu—headlight washers might be disabled. 2. Scan for BCM codes—look for “function disabled” flags. 3. Backprobe the pump connector during activation: 12V and ground present? Then the pump is dead.
|
| Pump runs but no fluid | Impeller damage or cracked housing | Empty reservoir, frozen fluid, clogged inlet filter, kinked hose, blocked nozzle |
1. Verify fluid level and thaw if needed. 2. Disconnect outlet hose at pump—activate system. Fluid flows? Blockage downstream. No flow? Pump or inlet clog.
|
| Leak at pump | Failed O-ring or cracked housing | Reservoir leak, loose hose, damaged line |
1. Clean area thoroughly. 2. Add UV dye to washer fluid, run system, inspect with UV light. Pinpoint leak—don’t assume it’s the pump.
|
Just because it’s leaking near the pump doesn’t mean the pump’s bad. I’ve chased “bad pumps” that turned out to be a loose hose clamp or a split reservoir vent line. Always confirm the source.
When the Pump Actually Dies
When the pump is done, it usually fails one of three ways:
First: motor death. Brushes wear out, windings short. Moisture gets in—washer fluid isn’t inert, especially methanol-based stuff—and corrodes the internals. I’ve cracked open pumps where the motor contacts were green with corrosion. Common on European cars where the pump’s mounted low, right in the splash zone.
Second: impeller or housing cracks. This happens when someone fills the reservoir with water in winter. Ice expands, splits the plastic, or shears the impeller off the shaft. You’ll hear the motor spin, but no flow. I’ve seen this on 2014–2018 Audi A4s more than once.
Third: internal check valve leaks. Fluid drains back into the tank when parked. First spray is weak, then it picks up. That’s a loss of prime. Not common, but it happens. If you notice a delay, that’s your clue.
Replacing the Pump: Step by Step
If testing confirms the pump’s dead, replacement is the only fix. These are sealed units—no rebuild kits, no serviceable parts. But it’s usually a DIY job if you’re comfortable pulling a wheel liner.
You’ll need: 8mm and 10mm sockets, trim tools, drain pan, DMM, and the new pump. Always replace the O-ring. Reusing the old one is asking for a leak. Some pumps come with it pre-installed; others require transfer. Check the box.
- Disconnect the negative battery terminal. Prevents BCM hiccups later.
- Remove front wheel and inner fender liner. Gives access to the reservoir.
- Drain fluid—siphon it or pull the reservoir if needed.
- Disconnect electrical connector and hoses. Note routing—some have specific bends.
- Remove mounting clip or bolt, pull pump out.
- Install new pump with fresh seal. Hand-tighten—over-torquing cracks plastic.
- Reconnect hoses and electrical.
- Refill with proper washer fluid—winter blend if cold.
- Reconnect battery.
- Test—verify strong, even spray.
One thing: after battery disconnect, some cars require you to re-enable the headlight washers in the menu. I’ve had customers call back saying “it still doesn’t work” because they skipped this step. Check your manual.
And if you’re in a bind? A minor O-ring weep—not a cracked housing—can sometimes be stopped with a thin film of Loctite 518 on the seal. But this is field-expedient only. Get it replaced soon. Sealant in the fluid path will clog nozzles. And it won’t fix a dead motor.
Prove It’s Fixed
Don’t just see spray and walk away. Test properly.
-
Functional test: Activate 3–5 times. Hum should be smooth—no straining. Spray must hit center of each lens.
-
Leak test: Wipe pump area clean, run cycles, inspect for new drips.
-
Electrical check: Clear codes, verify no “open circuit” returns. On Audis and VWs, use BCM manual activation mode to isolate the signal.
What’s It Cost?
| Repair Type | DIY Cost (Parts) | Shop Cost (Est. Parts & Labor) | Success Rate | Secondary Risk if Failed |
|---|---|---|---|---|
| Pump Replacement | $40 – $150 | $150 – $400 | Near 100% with correct diagnosis | Improper hose routing can cause kinks or leaks. A poorly sealed pump may leak fluid onto wiring or control modules. |
| System Re-enablement (settings menu) | $0 | $0 (or up to 0.5 hr diagnostic fee) | 100% | None—purely a software/setting fix. |
If a shop’s quoting over $500 and pointing at the BCM or harness, ask yourself: is it worth it? On an older car, sometimes you just disable it in the menu and move on. Not ideal, but practical.
Keep It Alive
Prevention is cheap. The #1 killer? Water in the reservoir during winter. Ice destroys pumps. Always use rated winter fluid—10°F below your lows.
-
Inspect pump area at oil changes. Look for wetness, crusty residue, cracked hoses.
-
Listen. A strained hum means clog or wear.
-
Flush every 2 years if you’re in a hard water or salt-heavy area. Minerals clog nozzles.
-
Clear nozzles with a pin or air. Never a metal wire—damages orifice.
