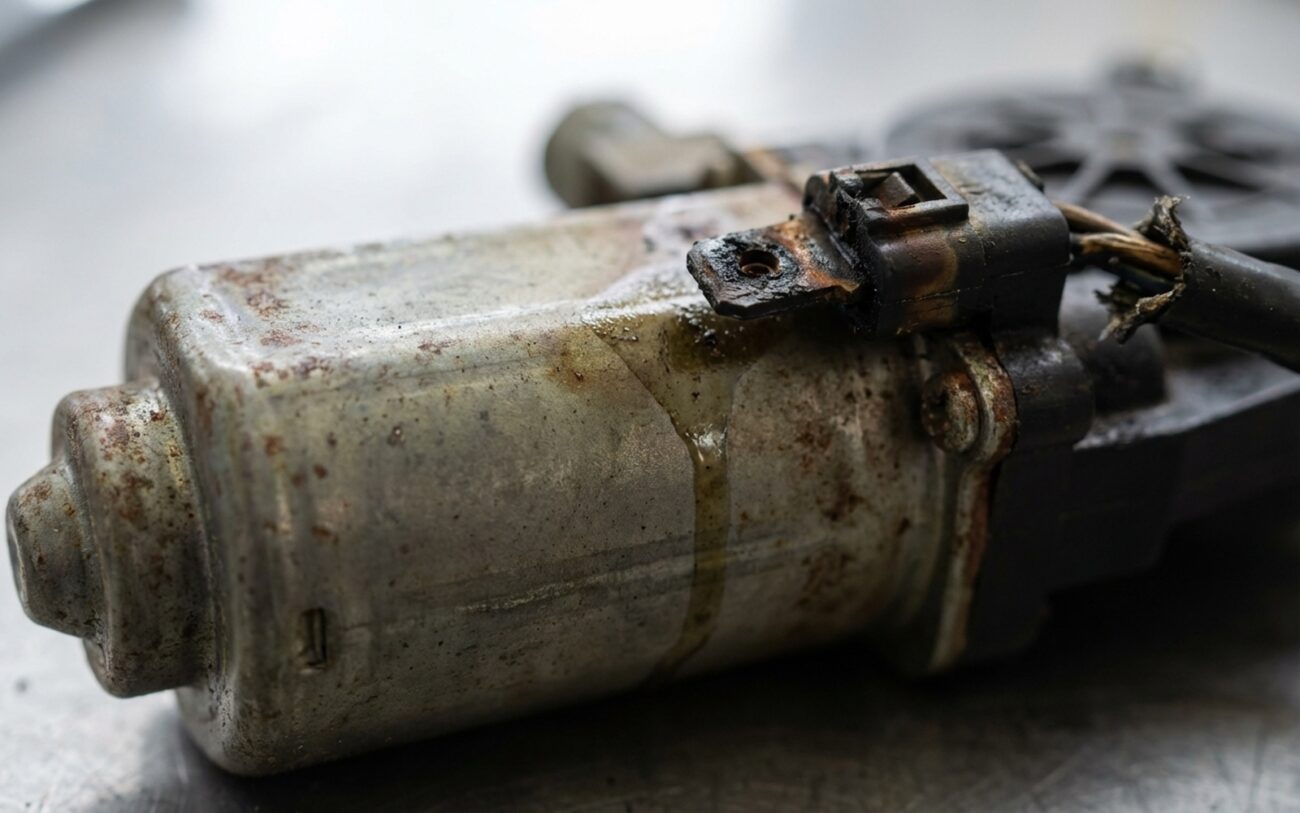
Alright, let’s talk power windows. If you’ve been in this trade as long as I have, you’ve seen a window motor act up, stop, then magically start working again a few minutes later. Most folks, and even some newer techs, jump straight to “dead motor.” But hold on a minute. That’s usually not a ghost in the machine; it’s the motor’s built-in thermal protection doing its job.
My Take: When the Window Stops (and Starts Again)
Inside most modern power window motors, there’s a thermal cutoff switch. Think of it like a circuit breaker for the motor. When that motor gets too hot—and I mean internal temperatures—that switch opens, cutting power. The window stops dead, no sound, no action. But give it 10, maybe 20 minutes to cool down, and click, the switch resets. Suddenly, it works again, at least for a little while.
That cycle right there? That’s your first big clue. It tells me the motor isn’t necessarily failed, it’s overheating. You might also notice the window moving slower than normal before it finally gives up, or even a faint, hot electrical smell near the door panel. That smell is the insulation on the motor windings starting to break down from the heat. That thermal protector isn’t just a convenience; it’s a critical safety device. Without it, sustained overheating could lead to a shorted winding, permanent damage, or, in extreme cases, an electrical fire inside your door.
And here’s the kicker: repeatedly trying to operate a window that’s already overheated just makes things worse, faster. Each cycle adds more heat, degrading the motor’s internal components—brushes, magnets, insulation. Eventually, that motor won’t recover, even after cooling. Catching these symptoms early gives you a real chance to diagnose the actual cause before you’re stuck replacing a completely fried motor.
The Real Question: Why is it Overheating?
The trick isn’t just figuring out if the motor is overheating, but why. Is the motor itself failing internally, or is it being forced to work too hard because of some external mechanical resistance? This distinction is everything. It determines whether you’re looking at a simple lubrication job or a full-blown replacement.
I always start with the basics, just to rule out the obvious. Check the fuse (yes, I know, but you’d be surprised). Inspect the wiring harness, especially in the door boot where wires flex and break over time. Confirm both the master switch and the individual door switch are sending proper signals. If the motor is silent, but I’m getting power to its connector, and the unit feels warm or hot to the touch, I’m already thinking tripped thermal protector.
If it starts working again after cooling off, that confirms the thermal switch did its job. But if the window moves slowly before it stops, that’s a classic sign of high amperage draw. That elevated current generates a lot of heat, which then triggers the protector. The source of that high draw could be internal to the motor—worn brushes, partially shorted windings—or, more commonly, external. We’re talking about a binding window regulator, dried-up window channels, or even misaligned glass. Even low system voltage (below 12.6V with the engine off) can make the motor labor, increasing current and heat. I’ve seen it happen.
Here’s a critical point I stress to every new tech:
A seized regulator roller or a bent track isn’t a motor problem, but it’s the most common reason a perfectly healthy motor burns out. I see this misdiagnosed constantly. A tech replaces the motor, but the binding issue remains, so the new unit overheats and fails within months. Always, always verify the mechanical system before blaming the motor.
Symptoms, Causes, and How I Test Them
To help you narrow it down, here’s how I break down the common scenarios:
| Symptom | Likely Motor Fault | Common External Mimics | Definitive Test to Confirm |
|---|---|---|---|
| Window stops working, motor silent. | Internal thermal protector tripped due to motor overload or internal short. | Blown fuse, faulty master/door switch, broken wiring in door boot. |
Use a digital multimeter (DMM) to check for battery voltage at the motor connector with the switch commanded. If voltage is present but the motor is inoperative and feels warm/hot, the fault is internal to the motor. Allow it to cool and retest; if function returns, the thermal protector is confirmed. |
| Window moves very slowly, then stops. | High current draw from worn motor brushes/commutator or partially shorted windings, generating excess heat. | Binding regulator mechanism, obstructed window glass run channel, poor battery/charging system voltage (<12.6V engine off). |
Perform a current draw test using a DC clamp meter or a DMM with a current function in series. Compare the reading to the manufacturer’s specification (typically 5–15A). A current draw exceeding spec with the regulator disconnected indicates a motor fault. A high draw with the motor connected points to mechanical binding. |
What I See: Internal Motor Failures
When the problem truly is inside the motor, there are a few common culprits. One possibility, though it’s less common now, is a factory design flaw. I’ve seen certain full-size SUVs, for example, where the original motors had overly sensitive thermal cutoffs or were just undersized for the job. Manufacturers sometimes issue service campaigns for these, requiring updated assemblies. Always worth checking TSBs (Technical Service Bulletins) if you suspect this.
More often, it’s just good old wear and tear, sometimes combined with environmental damage. Those carbon brushes inside the motor wear down over time. The conductive dust they shed can bridge segments on the commutator, creating localized short circuits. These “hot spots” increase resistance and generate a lot of heat, raising current draw even under normal load.
Moisture is another major enemy. Power window motors are sealed, sure, but they’re not waterproof. Leaky door seals, damaged window channels, or even just repeated exposure to rain through an open window can allow water to creep in. Once moisture reaches the windings, it degrades the insulation, leading to partial shorts between the coils. This reduces efficiency, spikes the amperage, and accelerates heat buildup. It’s a slow killer.
My Approach: Fixing the Problem
DIY-Feasible, But Be Smart About It
Look, a lot of power window repairs are accessible to a skilled DIYer. But always prioritize safety. Disconnect the battery before you touch any electrical components, wear appropriate gloves, and understand the mechanical forces involved. If you put things back together wrong, you can damage components or even injure yourself. Trust me, I’ve seen it.
Mechanical Resistance Fix DIY-Feasible
Motor or Assembly Replacement DIY-Feasible
Motor Rebuild / Temporary Workaround Professional Only For Rare Cases
Post-Repair Validation: How I Confirm the Fix
Don’t just assume the job’s done because the window moves again. Validation is critical, especially after you’ve been messing with mechanical components. First thing I do is compare the operation speed to the opposite side. Both up and down, the repaired window should match, not lag. If it’s still sluggish, something’s still binding.
The best diagnostic tool here is a DC clamp meter. I measure the current draw during full travel. The repaired side should draw within 1–2 amps of the good side under identical conditions. A significantly higher draw tells me there’s still some residual binding or the motor is still under undue stress.
If I’ve replaced the motor, I go a step further: I cycle that window up and down ten times consecutively. It should complete every stroke without slowing, stopping, or making any unusual noises. On vehicles with auto-up/down or pinch protection (like many GMs, Toyotas, or BMWs), you need to make sure that feature reinitializes properly. Some require a specific reset procedure through the BCM or door module—always refer to service information for that. For example, some BMWs absolutely require module resets after electrical work, and the same logic applies to their window systems.
And if you’ve got a scan tool, use it. Check for any pending codes in the door control module. A high-current event might set a soft code even if no warning light is on.
Cost, Risk, and Making the Right Decision
Understanding the financial and mechanical trade-offs is key to making a rational decision. If the issue is just mechanical binding, your cost is minimal: maybe $10–$20 for lubricant if you DIY. A shop will charge labor—typically $150–$250—but if that’s all that’s wrong, it’s a high-success repair with virtually no risk to other components.
Motor or assembly replacement is more involved. The part itself can range from $80–$250 for aftermarket or OEM, but the total shop cost can easily hit $700 when labor is factored in. While success rates are very high when done correctly, the risks during installation are real: over-tightening regulator bolts can crack plastic guides, kinked cables can bind, and pinched wiring can lead to intermittent faults. Always follow torque specs—most regulator fasteners are 8–12 ft-lbs—and I always recommend using thread locker on critical bolts to prevent them from loosening up with vibration.
Clean & Lubricate
DIY cost for lubricant. Shop labor typically $150–$250.
Motor/Assembly Replacement
Part cost $80–$250. Total shop cost can reach $700 including labor.
Motor Rebuild
Rarely cost-effective due to complexity and uncertain lifespan.
One reality check I always give customers: consider the vehicle’s overall condition and value. If the repair cost starts to exceed 25–30% of the car’s worth, and other windows are showing similar symptoms, you might be starting a cascade of repairs. Remember that window mechanisms often degrade together, especially in salty or humid climates. Sometimes, it’s more economical to simply accept manual operation on a rear window than to chase repeated failures.
My Prevention & Monitoring Tips
Keep Those Windows Healthy
The absolute best way to avoid power window motor overheating is to simply reduce the load on it. That means keeping the mechanical components clean and well-lubricated. Every couple of years—or at the very first sign of sluggish movement—take the time to service the window run channels and regulator rails. Use the right products: silicone spray for rubber, dry-film lubricant for metal-on-metal points. Avoid generic grease; it just collects dirt and turns into an abrasive paste over time. Pay attention to warning signs. A window that hesitates at the start, moves slower than it used to, or causes the motor to whine differently is trying to tell you something. If the auto-reverse function triggers during the up stroke, that’s a huge red flag—the system is detecting abnormal resistance, which means high current and heat buildup. Each false reversal shortens the motor’s life. Address a slow window early. What starts as a $20 lubrication job can easily become a $500 motor and regulator replacement if ignored. And remember: when the window stops and won’t respond, let it rest. That thermal protection is doing its job—don’t fight it.
