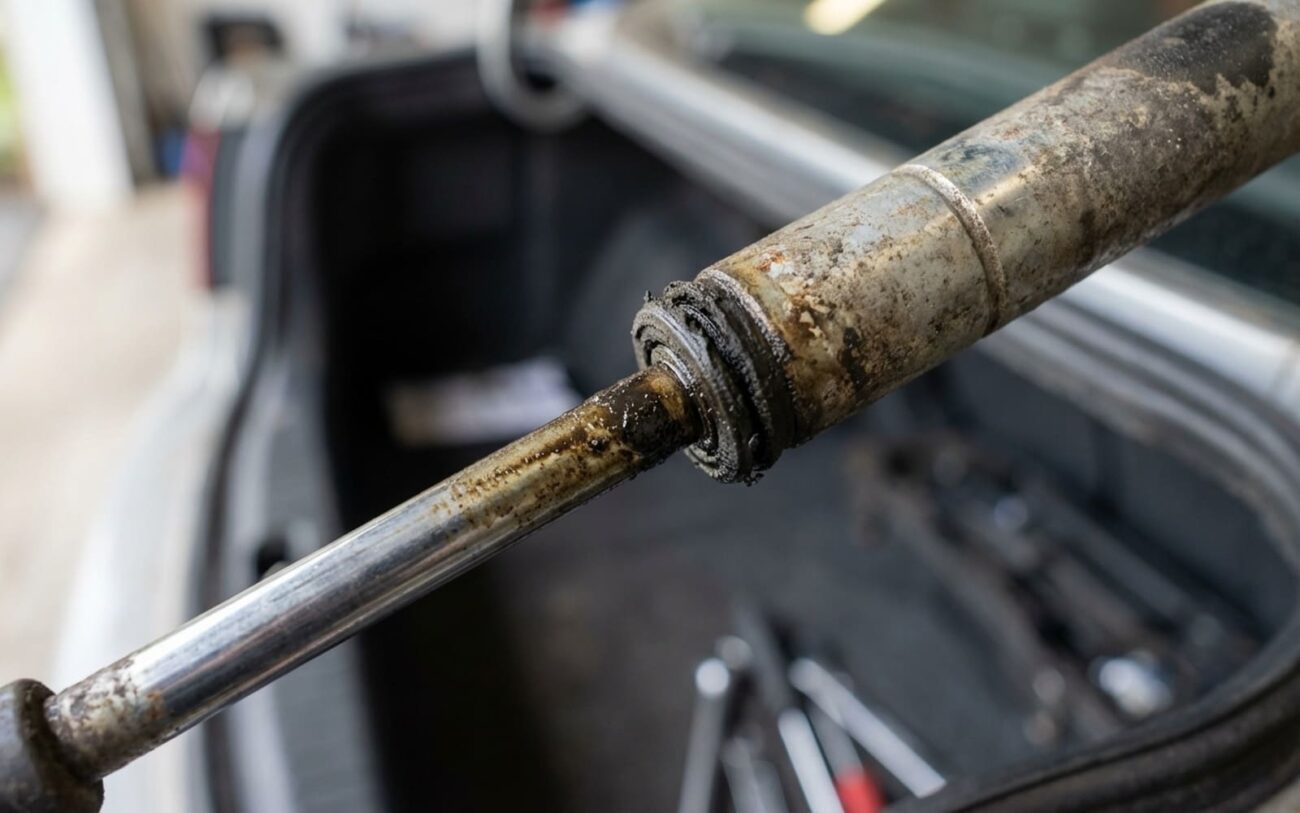
You lift the trunk, and instead of staying put, it starts sinking—slowly at first, then faster. Or worse, it slams shut while you’re leaning in. I see this every week in the shop, and let me tell you: it’s not just annoying. It’s dangerous. I’ve pulled customers out of the way before their own trunk cracked them in the head. And if you’ve got a hatchback with a glass rear window? One uncontrolled drop can cost you $600 in glass and labor.
Trunk won’t stay open? Here’s what’s really going on
Two things cause this: failed gas struts or mechanical binding. That’s it. No mystery. But diagnosing which one is broken—before you start replacing parts—is what separates a real fix from a parts-swapping gamble.
Start here: prop the trunk open with a 2×4 or factory prop rod (not the old struts—those can fail mid-test). Then disconnect one strut at a time using a flathead screwdriver to pop the plastic ball-and-socket clip. Once it’s off, try lifting the lid by hand.
If it lifts smoothly and stays up? The strut’s shot. Replace it.
If it still binds, sticks, or feels like it’s dragging? Then you’ve got a mechanical issue—hinge, striker, or alignment.
First, clean the latch and striker with brake cleaner. Then, smear a little grease or even lipstick on the striker bolt. Close the trunk, reopen it, and look at the transfer mark.
Even, centered mark? Latch is worn internally—spring fatigue, chipped pawl gear, or corrosion.
Off-center or partial mark? Striker is misaligned. Adjust it before replacing anything.
Why these parts fail—because it’s not random
Gas struts die from age and exposure. They’re pressurized with nitrogen and sealed with rubber O-rings. Over 5–7 years, heat cycles and UV light degrade those seals. Nitrogen leaks out slowly—permeation—until the strut can’t hold the lid. I’ve tested old struts with a pressure gauge; some were down 15% even with no visible damage.
But physical damage kills them faster. Road salt, gravel, or a careless car wash can scratch the chrome piston rod. Once that happens, every cycle drags grit into the seal, scoring the inner bore. That’s when they fail fast—sometimes in weeks.
And don’t overlook the ends. Worn ball joints at the mounting points cause uneven loading. I see this a lot on trucks that haul heavy cargo or SUVs where the hatch is left open in wind. One side takes more load, wears faster, and fails early.
Latches fail differently. The internal spring that drives the locking pawl fatigues over time—especially on high-mileage vehicles. Once it loses tension, the pawl doesn’t engage fully. You’ll hear a weak “thud” instead of a solid “clunk.”
The gear teeth inside the latch can also wear down or chip. Cheap aftermarket units do this in under two years. Corrosion’s another killer—especially in northern states where road salt eats everything. And yes, a broken release cable or failed actuator will keep the trunk from opening, but that’s not a retention issue. If it won’t stay shut, the latch or striker is the problem.
How to fix it—ranked by effort and risk
Replace the Struts DIY-Feasible
Adjust the Striker DIY-Feasible
Replace the Latch DIY-Feasible
Did it work? Here’s how to test it
Test in normal temps. Cold makes struts stiffer; heat softens them. The lid should stay open on its own—no creeping. When closing, it should take a firm push, not a slam. Compare the new struts to the old ones by hand—they should feel noticeably firmer when compressed.
For latches: listen. A solid “clunk” means it’s good. A hollow thud or rattle means it’s not engaging. Do a drop test—release the lid from 12 inches up. It should latch every time. Then, gently lift each corner of the closed trunk. Any movement? The latch isn’t holding. Cycle the central lock a few times to confirm electrical operation. And repeat the grease test—your striker mark should now be centered and even.
Wash the strut rods with a damp cloth after driving in salt or dust. Grit turns into sandpaper on the piston rod. And once a year, hit the latch and striker with a dry-film lubricant—PTFE or graphite. No grease. Grease traps dirt and turns into grinding paste.
Finally, pay attention to the sound. A clean “thunk” is normal. New noises—clicking, grinding, weak thud—are early warnings. Catch it early, and you might only need an adjustment.
Costs and real-world advice
Gas Strut Pair Replacement
DIY Cost (Parts)
Latch Striker Adjustment
DIY Cost (Parts) / Shop Cost (Labor)
Latch Mechanism Replacement
DIY Cost (Parts) / Shop Cost (Parts & Labor)
| Repair Type | DIY Cost (Parts) | Shop Cost | Success Rate | Secondary Risk |
|---|---|---|---|---|
| Gas Strut Pair Replacement | $40 – $150 | $200 – $400 | Near 100% with correct fitment | Physical injury or lid damage if failed during use |
| Latch Striker Adjustment | $0 (labor only) | $50 – $100 | Over 95% when misalignment is root cause | Ongoing latch wear if alignment isn’t corrected |
| Latch Mechanism Replacement | $80 – $300 | $300 – $600 | 98% when installed correctly | Damage to wiring harness during trim removal |
Cost-Saving Tip
Dealers charge more. Independent shops with real experience on your model? They’ll often do the job for half. But verify they’ve worked on your make and year. On a 2015–2017 F-150, for example, the strut mounts are different than older models. One wrong part and you’re back to square one.
