Look, when you pull that parking brake lever and it clicks all the way to the top, but your car still rolls on a hill? That’s not just annoying, it’s a serious safety issue. I’ve been turning wrenches for over 25 years, and I’ve seen too many folks ignore this until it costs them big time. Your parking brake is your first line of defense; your transmission’s parking pawl is the absolute last. You don’t want to rely on that little pawl to hold a ton of steel on an incline – it’s just asking for trouble, and a very expensive repair if it shears off.
BRAKE SYSTEM STATUS: ⚠ SYSTEM FAILURE
If your lever travels 100% (10+ clicks) and still doesn’t hold, you’ve got critical issues with cable tension or friction material. Ignoring this puts massive stress on the Transmission Parking Pawl, which can shear off under load.
How I Diagnose It: Pinpointing the Real Culprit
In my shop, when a parking brake fails, it almost always boils down to one of two things: either the friction material (the pads or shoes) is completely worn out, or the cable system is out of adjustment. Sometimes it’s a mix of both, but those are the primary suspects. Before we start throwing parts at it, we need to figure out why it’s failing. The symptoms can look similar, but the fixes are totally different. Here’s how I approach it:
Symptom: Lever pulls way too high, clicks a lot, but no hold.
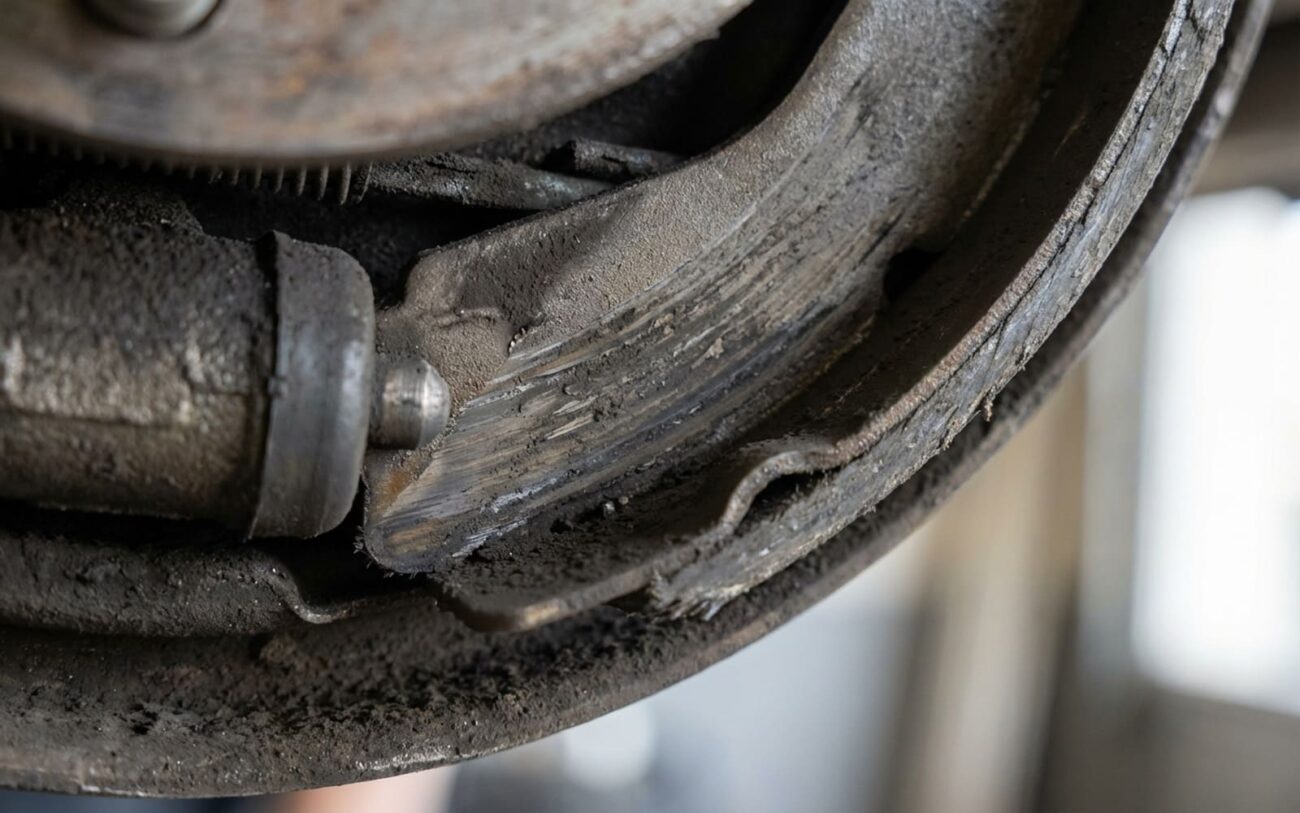
This is usually a sign of either worn-out friction material or a stretched/misadjusted cable. What I do first is get the rear wheels off the ground and pull the brake. If the lever comes up high, I’m looking at the pads or shoes. You need at least 1.0 mm (about 0.040 inches) of material left. If they’re thinner than that, they’re done. If the material looks good, then it’s an adjustment issue – the cable just has too much slack.
Symptom: Excessive force required to pull the lever.
If you’re really fighting the lever, it’s often a corroded or seized cable, or sometimes the equalizer bar is frozen up. I’ll disconnect the cable at the rear wheels. If the caliper lever or the drum brake actuating lever now moves freely by hand, then the problem is definitely in the cable system itself, not the brake assembly at the wheel.
Symptom: Normal lever travel, feels like it’s engaging, but still slips.
This one’s tricky. It means the brake is trying to engage, but it’s not gripping. Usually, I find the friction material is glazed over, contaminated with oil or grease, or just hardened with age. I’ll pull the wheels and inspect the pads/shoes. If they look shiny, or if there’s any fluid residue (which points to a hydraulic leak, a different problem entirely), that’s your culprit. Sometimes a light scuff with sandpaper can bring them back, but usually, replacement is the way to go here.
Why Parking Brakes Give Up the Ghost
Worn pads or shoes? That’s just normal wear and tear, same as your regular brakes. Every time you use it, a little bit wears off. If you live in a hilly area or rely on it heavily, it’ll wear faster. But a lot of the problems I see come down to design flaws, especially with the self-adjusters.
The Self-Adjuster Headache:
Many vehicles today use a self-adjusting mechanism – usually a lever, spring, and star wheel inside the drum or caliper. In theory, it’s supposed to automatically take up slack as the shoes wear. In practice? They fail constantly. Road salt, dirt, broken springs, seized hardware – I’ve seen it all. This is a known weak point in many caliper-integrated and drum-in-hat systems. Don’t assume ‘self-adjusting’ means ‘maintenance-free’.
It’s important to keep things separate. If you’ve got a leaking rear caliper soaking your parking brake shoes with fluid, that’s a hydraulic system failure, not a parking brake defect. Same goes for warped rotors or a pulsating pedal – those are primary brake issues, and you don’t want to confuse them.
My Repair Approaches: From Adjustment to Overhaul
Electronic Parking Brake (EPB) Warning: CRITICAL!
Now, if you’ve got a newer vehicle with an Electronic Parking Brake (EPB), listen up. You absolutely cannot manually compress that piston like a regular caliper. Doing so without putting the system into ‘service mode’ with a proper scan tool will damage the motorized actuator. That’s a guaranteed trip to the shop, and an expensive one. This isn’t a DIY job unless you have the right diagnostic equipment.
Manual Cable or Star Wheel Adjustment DIY-Feasible
Replacing Parking Brake Pads or Shoes Standard DIY
Repairing a Frozen Self-Adjuster Professional Only
How I Verify the Repair: Functional Test Checklist
My Functional Test Checklist
-
Find a decent hill, something with about a 15% grade. Stop the car, shift into neutral, and apply the parking brake. It should engage crisply within 3-7 clicks. The car needs to hold firm, no creeping. If it creeps, you’ve still got a problem.
-
If you replaced friction material, do a quick bedding-in cycle. Drive at low speed (10-15 mph) and apply the parking brake several times, gently at first, then a bit firmer. This helps seat the new material properly.
-
Finally, with the parking brake fully released, make sure both rear wheels spin freely by hand. You shouldn’t feel any mechanical drag. If you do, something’s still binding or over-adjusted.
What This Repair Will Cost: Realistic Estimates
So, what’s this going to set you back? Here’s what I typically see in the shop:
Adjustment Only
Shop cost for labor. If you’re handy, this is essentially free.
Pad/Shoe Replacement
Includes parts and professional labor. If you DIY, parts alone are usually $100–$300.
Full Overhaul
This means replacing cables, all the hardware, and potentially the calipers or drum assemblies if they’re too far gone.
Preventing Future Parking Brake Headaches
My Maintenance Tip
An ounce of prevention is worth a pound of cure, especially with parking brakes. If you live somewhere with road salt – and that’s most of us – make it a habit to spray the cable ends and that equalizer junction under the car with a dry graphite lubricant once a year. I stress dry graphite – don’t use WD-40 or anything that attracts dirt. And whenever you’re in for your routine brake service, just ask your tech to give the parking brake mechanism a quick visual inspection and a shot of lube. A well-maintained parking brake should last for years, even on a high-mileage vehicle.
