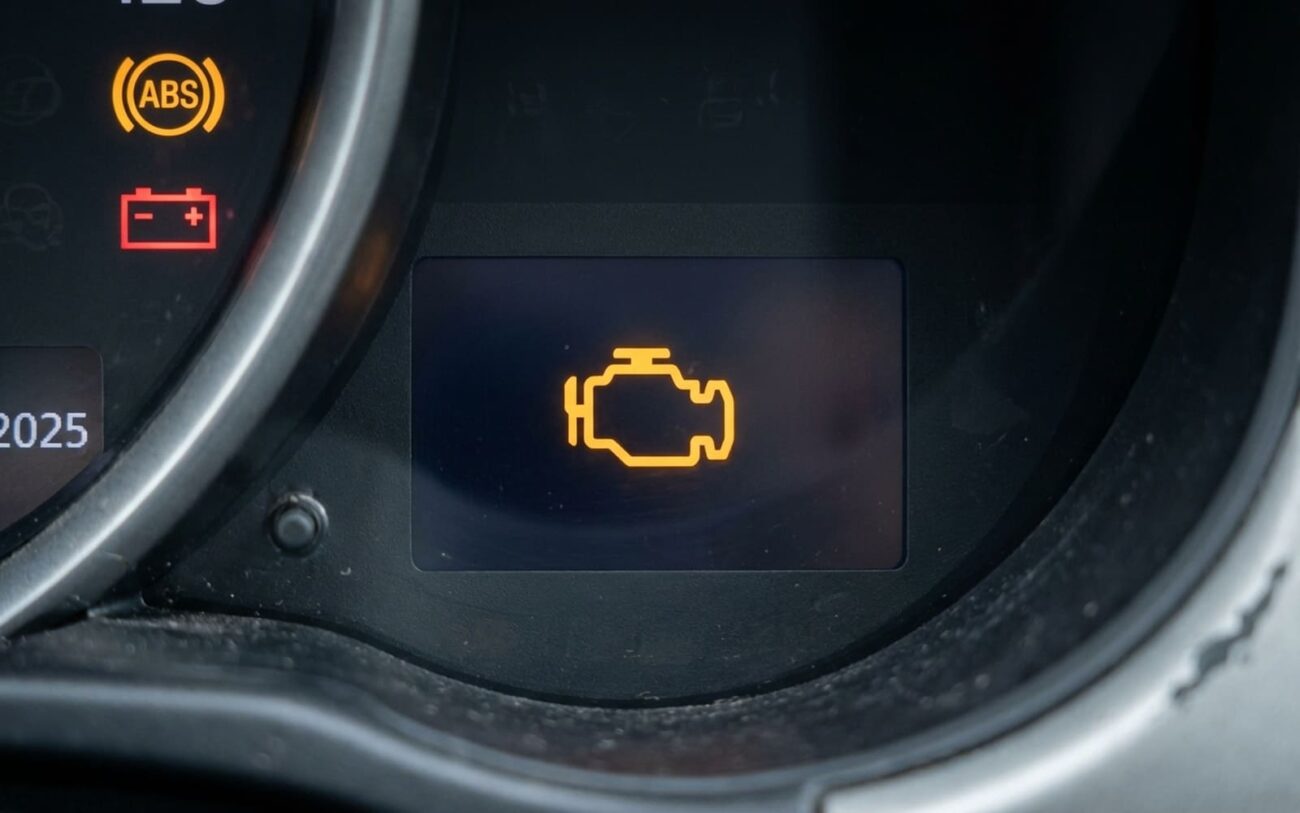
So All Your Dash Lights Are On After a Messed Up Jump Start
We’ve all been there, or seen it happen. A buddy’s car is dead, you grab the jumper cables, and in a split second of distraction, you hook ’em up backward. Red to negative, black to positive. There’s that sickening pop, a flash of sparks, maybe a wisp of smoke from under the hood. You know it’s bad.
Now the car won’t start. It might crank, but there’s no fire. Worse, the instrument cluster is lit up like a Christmas tree—Check Engine, ABS, Airbag, EPS, Battery, Oil Pressure, the whole works. Every single warning light screaming at you.
What you’re seeing isn’t a coincidence. When all those dash lights come on simultaneously after a jump start gone wrong, it’s not ten separate faults. It’s one major electrical trauma. In nearly every case I’ve seen over the last 25 years, you’re dealing with a compromised control module network—specifically, the CAN (Controller Area Network) bus. And the first domino to fall? Almost always the Engine Control Module (ECM), sometimes called the PCM (Powertrain Control Module). That’s where the damage usually starts, and from there, it can ripple through the entire vehicle.
Other telltale signs follow quickly: your scan tool won’t talk to the car, the fuel pump won’t prime, there’s no spark, no injector pulse. The engine cranks over, but it’s electrically dead. If you’ve worked on these systems long enough, you recognize this pattern fast. And if you’re unlucky enough to pull the ECM and spot a bulging capacitor, a charred circuit trace, or that unmistakable burnt electronics smell—well, you’ve got your confirmation. That module is cooked.
Signal: 0.0V (Short)
The Concept
“Think of your car’s computer network like an orchestra. The ECM is the conductor. If the conductor gets knocked out, the whole symphony turns into noise.”
Figuring Out Exactly What Got Fried
When a car rolls into my shop after a bad jump, and the dash is lit up like that, I don’t start chasing individual codes. That’s a waste of time. I know we’re looking at a major electrical event, almost always involving the CAN bus and the ECM. But even though the ECM is the prime suspect, you can’t just assume it’s dead and start ordering parts. I’ve seen too many shops replace modules blindly, only to find the real issue was a blown fuse, a bad relay, or a short in the wiring. You need to test methodically.
Pro Tip: Check the Simple Stuff First
I see this misdiagnosed more than you’d think. One shop replaced a $1,200 ECM only to realize a $12 main relay had failed—same symptoms, much cheaper fix. Always verify power and ground to the ECM before condemning the module itself. A quick check of all related fuses (ECM, fuel pump, ignition, main relay) is always my first step.
Here’s the diagnostic approach I use, focusing on the most common symptoms and how to confirm the root cause:
| Symptom | Likely Internal ECM Failure | Common External Causes | Definitive Test to Confirm Source |
|---|---|---|---|
| No communication with scan tool | Failed power regulation or processor damage inside ECM. | Blown ECM power fuse, failed main relay, poor ground connection, damaged wiring. |
Verify 12.6V at battery. Then, at the ECM connector, check for consistent 12V at the power input pins and ground continuity (less than 0.5 ohms) at the ground pins. |
| Multiple dash lights illuminated (CAN bus error) | ECM failed as a CAN bus node, dragging down communication across the network. | Short in CAN High/Low wiring, failure of another module (BCM, TCM, ABS) causing interference. |
Disconnect the ECM. Measure CAN High/Low voltages at the harness connector. If they normalize (typically 2.5V bias, 0.5V differential), the ECM is corrupting the bus. |
| No fuel pump prime, no spark, no injector pulse | ECM not processing sensor data or commanding outputs due to internal damage. | Immobilizer activation, faulty crankshaft/camshaft sensor, key programming issue, blown fuse for these circuits. |
If you can establish any scan tool communication, use a bi-directional scan tool to command the fuel pump, injectors, or ignition coils. If the command fails, and you’ve verified power/ground to the ECM, it points to internal ECM failure. |
What Actually Breaks Inside the Computer
Reverse polarity isn’t just a glitch—it’s an electrical trauma. The moment those cables are reversed, 12V of reverse current slams into the ECM’s power inputs. The first line of defense is usually a set of protection diodes near the power input. These are designed to short any voltage spikes to ground, but they’re not built to handle sustained reverse polarity. In that instant, they overheat and fail—typically shorted, sometimes open.
Once those diodes are gone, that reverse voltage floods the voltage regulators that supply clean 5V and 3.3V to the microprocessor and memory chips. Those regulators can’t handle reverse current either. They fail, often taking the main processor (CPU) and the EEPROM/flash memory with them. That’s where your engine calibration, VIN, immobilizer data, and fuel maps live. If that memory is corrupted or physically damaged, the ECM is useless—even if it powers on.
In severe cases, the surge from the donor battery can vaporize microscopic copper traces on the circuit board. I’ve seen boards where the power rail is literally blown open, like a fuse. That kind of damage isn’t repairable with a soldering iron. And yes, while fuses and fusible links are meant to protect the system, they often don’t react fast enough to prevent ECM damage, especially when the surge is so immediate and direct.
Your Realistic Repair Options
Professional Territory Only
Look, if your diagnostics confirm internal ECM failure, your options are limited. There is no quick fix, no magic reset, and no DIY jumper wire that’s going to bring it back. This is professional-level stuff, and it almost always means programming.
ECM Replacement & Programming Recommended
Specialist PCB Repair High Risk
Used ECM Swap Not Recommended
Making Sure It’s Really Fixed
Replacing and programming the ECM isn’t the finish line—it’s just the starting point. You need to validate the repair thoroughly before handing the car back to the customer (or driving it yourself). I always run through this checklist:
Validation Checklist
-
Communication Check: Ensure your scan tool communicates with ALL modules (ECM, TCM, BCM, ABS, etc.) with no “no communication” codes present.
-
Bulb Check: Verify all warning lights illuminate during key ON (bulb check) and then extinguish completely after the engine starts.
-
Live Data Sync: Monitor critical live data parameters via your scan tool—fuel trims, cam/crank synchronization, throttle position, sensor readings. They should all be within spec and responding correctly.
-
Thermal Cycle: Let the car idle until it reaches operating temperature. Ensure cooling fans activate at proper temperatures. Then, take it for a good, varied test drive. No random codes should appear, and everything should feel normal.
The Cold, Hard Cost Conversation
Now, let’s talk turkey. This isn’t a cheap fix. An ECM replacement isn’t just the part; it’s the specialized programming, the labor, and the diagnostic time to confirm everything else is okay. Here’s what you’re typically looking at:
| Repair Type | DIY Cost (Parts) | Shop Cost (Total) | Success Rate | Secondary Risk |
|---|---|---|---|---|
| ECM Replacement | $500 – $1,500 | $1,000 – $2,500+ | 95%+ | Immobilizer lockout if sync fails (rare with OEM tools) |
| Specialist PCB Repair | $200 – $600 | $300 – $800 | <30% | Intermittent faults or sudden failure down the road |
| Used ECM Swap | $200 – $800 | N/A (shops won’t do this without programming) | <10% | Car won’t start; security lockout; more diagnostic time wasted |
The 50% Rule
If the confirmed repair cost exceeds 50% of the car’s fair market value, it’s time to seriously consider whether fixing it makes financial sense. Throwing $2,500 into a $4,000 car might keep it running, but it’s not an investment—it’s a temporary reprieve. Sometimes, it’s better to cut your losses.
How to Make Sure This Never Happens Again
The best repair, of course, is the one you never have to do. So, let’s go over how to jump-start a car properly. It’s simple, but skipping a step or rushing can cost you thousands.
-
1
Connect the red clamp from the jumper cables to the dead battery’s positive (+) terminal.
-
2
Connect the other red clamp to the booster battery’s positive (+) terminal.
-
3
Connect the black clamp to the booster battery’s negative (–) terminal.
-
4
Connect the other black clamp to a solid, unpainted metal point on the engine block or chassis of the dead car—away from the battery. This is critical.
That last step is critical. Connecting the negative clamp to the chassis instead of the dead battery’s negative terminal prevents sparks near the battery, where hydrogen gas can accumulate and cause an explosion. It also provides a better ground path for the entire electrical system, minimizing resistance.
Before you connect anything, take two seconds to verify polarity. Clean the terminals if they’re corroded. If you’re unsure, use a multimeter: the positive terminal should read +12V relative to the chassis, and the negative should read 0V. It’s five seconds of caution that can save you thousands.
And if you’re dealing with a modern car with sensitive electronics—especially turbocharged models like TSI or EcoBoost, or hybrids with complex CAN networks—be extra careful. These systems are less forgiving than older vehicles. A single reverse connection can cascade into a system-wide failure, exactly like what we’ve talked about.
