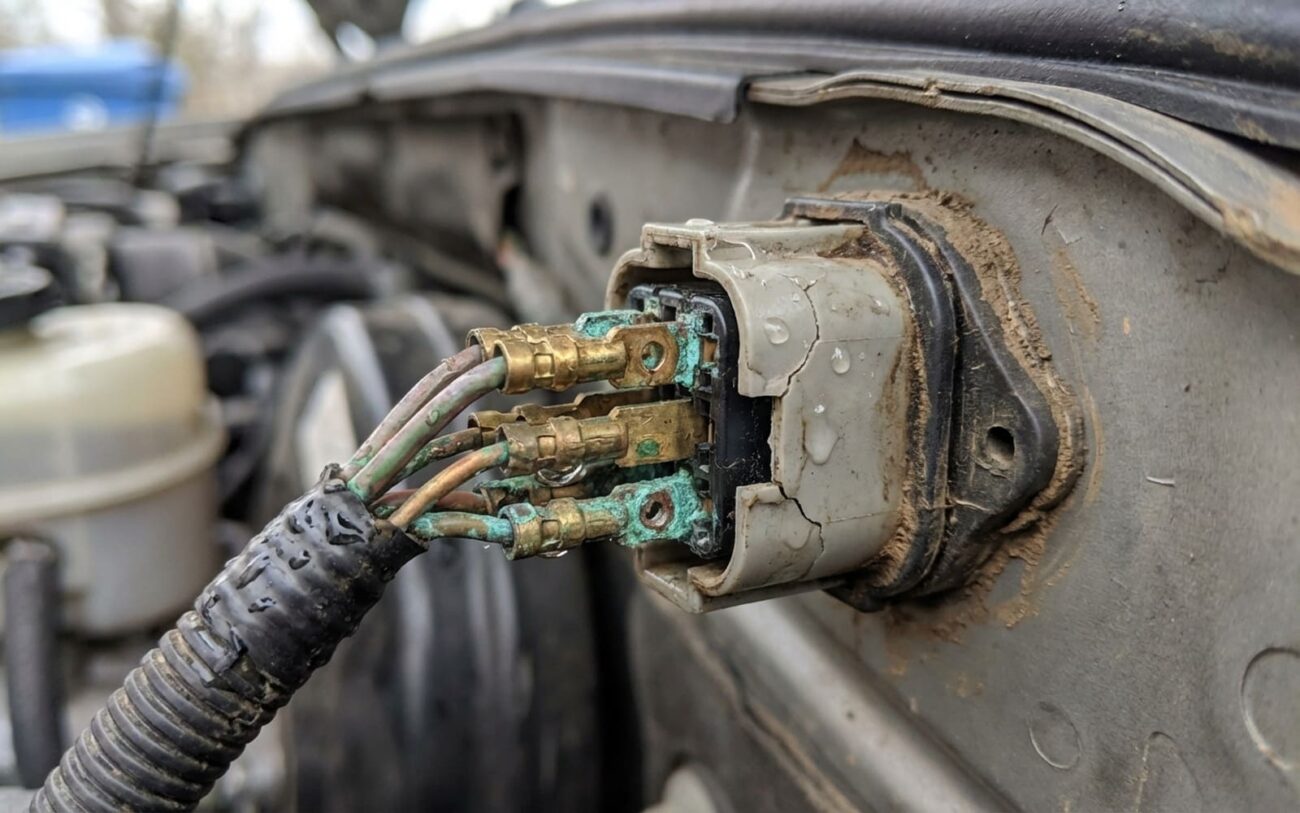
Engine Wash Gone Wrong? Why Your Car’s Dead (And What To Do NOW)
Alright, let’s talk about a situation I see in my shop way too often: You just finished detailing your engine bay, looking all shiny and new. You hop in, turn the key, and… nothing. Not a peep. No dash lights, no radio, no power windows. Just a dead silence where your engine used to be. It’s enough to make your stomach drop.
First, take a breath. You didn’t “hydro-lock” the engine or blow a head gasket. What you did do is introduce water into your car’s electrical system, which, as you can imagine, doesn’t play well with moisture. You’ve created an electrical short, and your car’s brain — the control modules like the Engine Control Module (ECM) and Body Control Module (BCM) — has essentially hit the panic button to protect itself.
When I see a car like this, with ‘NO COMM’ (no communication) codes for the ECM and BCM, it screams ‘electrical short’ right in my face. The BCM, in particular, is designed to shut down circuits to prevent hardware failure when it detects a problem, like moisture bridging connections in the power distribution center.
Where the Water Hides (Diagnosis)
When you’ve got a whole host of unrelated electrical systems dead – interior lights, power windows, instrument cluster, sometimes even the starter – it’s almost never individual component failures. What you’re looking at is a single, upstream problem in the power distribution network. Think of it like a main circuit breaker tripping in your house, not just a single lamp blowing a bulb.
In my 25+ years, that ‘main breaker’ is almost always the under-hood fuse and relay box, also known as the Power Distribution Center (PDC) or Integrated Power Module (IPM) on some models (I’m looking at you, Chrysler TIPM units, which are notorious for this). These boxes are packed with high-current bus bars, fuses, and relays. They’re supposed to be sealed, but seals degrade over time, lids get warped or not put back on right, and then that high-pressure spray from your wash wand finds its way in.
Here’s a quick diagnostic trick I use: With the battery reconnected (but only after you’ve visually inspected the fuse box and confirmed no obvious standing water), grab your multimeter. Find the main ‘B+’ (battery positive) terminal on the fuse box – it’s usually a big, thick wire coming directly from the battery. You should read around 12.6 volts there. If you have good voltage at the input, but everything downstream is dead, then your problem is definitely inside that fuse box. Water is bridging circuits, causing shorts, and shutting things down.
My Approach to Repair
Safety First (Again!)
Before you even think about touching anything, I’m going to say it again: DISCONNECT THE NEGATIVE BATTERY TERMINAL. You’re dealing with live circuits and water. Don’t risk frying something expensive or, worse, getting hurt. Safety first, always.
The ‘Lucky Break’ Fix: Clean and Reseal DIY Feasible
The ‘Uh-Oh’ Fix: Full Fuse Box Replacement Professional Only
The ‘Get Me Home’ Fix: Emergency Drying Temporary Only
What This Is Going to Cost You
| Repair Type | DIY Cost | Shop Cost | Success Rate |
|---|---|---|---|
| Fuse Box Clean/Reseal | $15 – $25 | $150 – $300 | 90% (if seal is intact) |
| Fuse Box Replacement | $250 – $600 | $800 – $1,500 | 98% (with coding) |
How to Keep Your Car Dry (And Avoid My Shop)
After seeing this problem so many times, I’ve got a few rules for keeping your electrical system happy and dry:
-
Ditch the Pressure Washer on the Engine. Treat your engine bay like sensitive electronics – because it is. High-pressure spray forces water into places it should never go. Instead, use a gentle stream from a garden hose, or better yet, just a damp microfiber cloth and some engine degreaser.
-
Inspect Those Seals. Every time you’re under the hood for an oil change or checking fluids, take a quick look at your fuse box lid. Are the seals cracked? Is it sitting flush? Look for any white, powdery corrosion on exposed fuse blades – that’s a tell-tale sign of moisture intrusion.
-
Dielectric Grease is Your Friend. A little dab of dielectric grease on electrical connectors and fuse box seals goes a long way. It repels moisture without interfering with electrical flow. It’s cheap insurance.
-
Know Your Car’s Weak Spots. Some vehicles, like those Chrysler TIPM units I mentioned, have known design flaws that make them more susceptible to water ingress. Check for Technical Service Bulletins (TSBs) for your specific make and model. Staying informed can save you a headache.
Pro Tip
Here’s a little pro tip from my years on the floor: If your car has been sitting out in a torrential downpour, or you had to drive through some deep standing water, resist the urge to immediately crank it up. Give it a few hours. Let some airflow get in there and dry things out. A little patience now can prevent a very expensive visit to my shop later.
