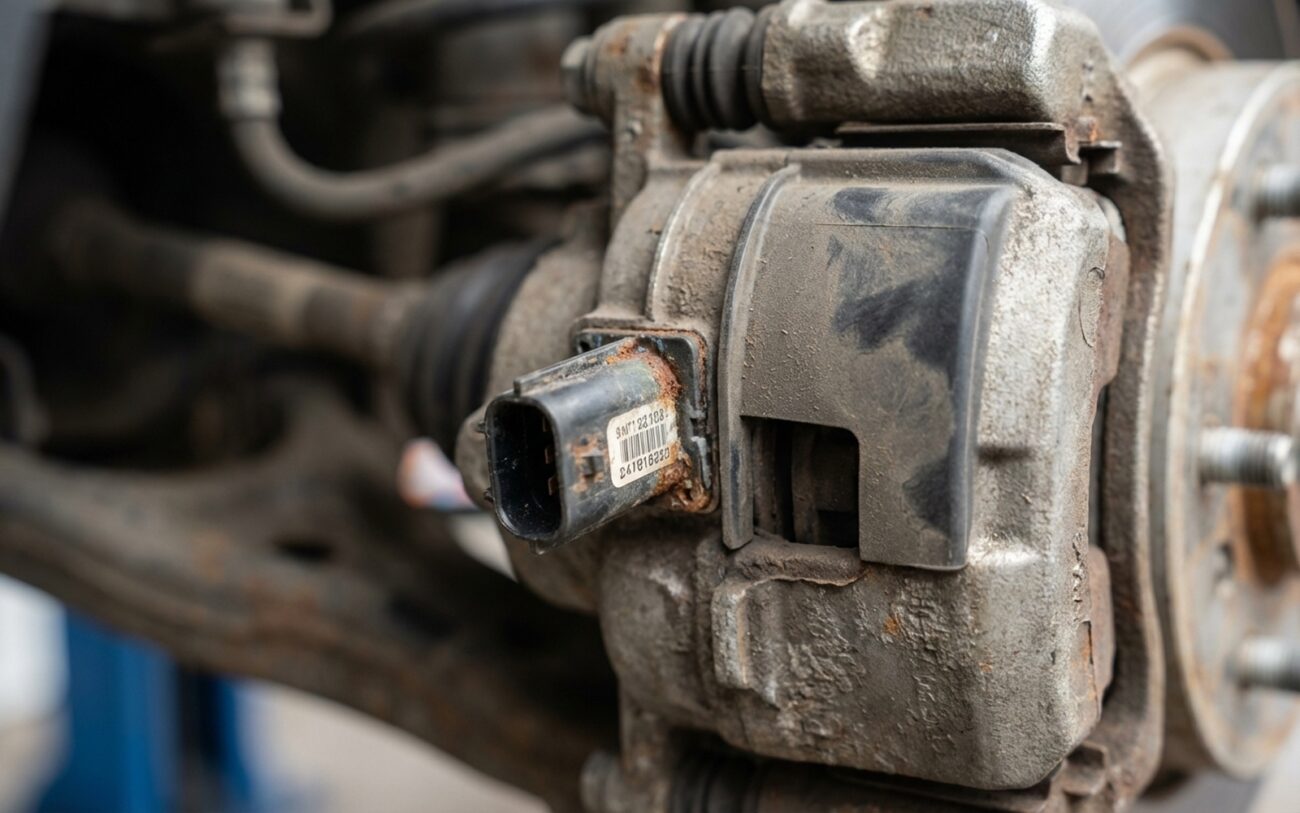
You just finished a rear brake job, maybe swapped out the pads, or even the rotors. You put everything back together, fire up the car, and BAM! Your dashboard lights up with a big, ugly “Parking Brake Fault” or “Service Parking Brake” message, often with that “P” symbol flashing like crazy. If this sounds familiar, trust me, you’re not alone. I see this issue come into my shop weekly, especially after a DIY attempt.
Most of the time, this isn’t a broken part. What’s happened is your Electronic Parking Brake (EPB) system has essentially forgotten where its pistons are supposed to be. Think of it like rebooting a computer without saving your settings – the system knows something’s off, so it throws a fault code and locks itself down to prevent damage. It’s in a protective mode, waiting for you to tell it what’s what.
Is It Calibration or Something Worse? My Diagnostic Approach
Now, while a calibration issue is the most common culprit, it’s not the only thing that can cause an EPB fault after a brake job. Some symptoms can look identical but actually point to a mechanical or electrical failure. My rule of thumb: always rule out physical damage before assuming it’s just a software reset.
Initial Clues for Calibration Issues
-
Timing is everything: The warning pops up immediately after you finish the brake service or retract the pistons.
-
Motor Noise: You hear the actuator motor running for more than 10 seconds, maybe a whirring or grinding sound, but nothing happens.
-
System Lockout: The brake simply refuses to apply or release, often because the system is trying to protect itself from mechanical damage.
If you’re seeing those signs, there’s a good chance it’s just a calibration. But let’s dig a bit deeper to be sure. Here’s how I differentiate between a simple calibration and something more serious:
| Symptom I See | My First Thought (Calibration) | What Else Could It Be? | How I Confirm It |
|---|---|---|---|
| EPB motor runs for >10 seconds after I hit the switch. | The system has lost its mechanical reference point; it just needs a basic setting. | A seized parking brake mechanism (like rusted cables or caliper components). |
Disconnect the motor and apply 12V directly to its terminals. If it spins freely and smoothly, the motor itself is fine – it’s a calibration issue. |
| EPB fault code is present immediately after the brake service. | The adaptation values were cleared, or the module is stuck in service mode. | Shorted wiring, damaged motor windings, or a connector that got water in it. |
Run an “Actuator Test” using a bi-directional scan tool. If the motor runs and draws a stable current, the electrical circuit and motor are likely good, pointing to a calibration need. |
| The EPB applies, but the car still rolls on an incline. | The clamping force calibration is incorrect. The system thinks it’s clamping, but it’s not applying enough pressure. | Worn parking brake shoes (if it’s a drum-in-hat design) or contaminated friction surfaces. |
With the EPB engaged, try to rotate the rear wheel by hand. If there’s only light drag or you can still turn it, but the motor sounds normal, it’s almost certainly a calibration issue. |
Just a quick note: sometimes other unrelated issues, like a faulty wheel speed sensor or an ABS module fault, can trigger an EPB warning because they share information on the CAN bus. But if the EPB warning is the only symptom, and it appeared right after you touched the brakes, you’re almost certainly dealing with a system that just needs to be told what to do again.
Why This Even Happens: The Root Cause
The core reason for most post-service EPB faults isn’t a broken part; it’s a loss of the system’s learned data. The EPB control module constantly tracks the actuator motor’s rotational position and correlates it with how far the piston travels and how much clamping force is applied. When that data gets wiped or confused, the system doesn’t know its “home” position anymore.
Common Triggers for This Data Loss:
- Power interruption: Disconnecting the battery, even for a short time, can wipe those crucial adaptation values.
- Manual piston retraction: Using a C-clamp or similar tool to push the piston back without telling the EPB module you’re doing it. This bypasses the system’s control, creating a massive position mismatch.
- Skipping “Service Mode”: Modern vehicles require you to activate a specific “Brake Pad Replacement Mode” (or similar) through the infotainment system or a scan tool before you do any mechanical work. This retracts the piston electronically and prepares the system for the change.
It’s important to be clear about what this isn’t. This isn’t a failed actuator, corroded wiring, or worn brake components (unless those were the original problem you were trying to fix). If your motor doesn’t respond at all, makes a loud clicking noise from stripped gears, or the rear brake has absolutely no mechanical resistance, then you’ve got a hardware issue. Calibration won’t fix broken gears or disconnected levers. You need to replace the damaged part first, and then perform the reset.
Getting It Fixed: Your Resolution Options
Once you’ve confirmed it’s a calibration issue, here are the ways I typically go about resolving it, from simplest to most involved:
The “Magic Button” Sequence
- Turn the ignition OFF.
- Hold the EPB switch in the “apply” position (pull it up).
- Turn the ignition ON (engine off).
- Keep holding the switch for at least 3 seconds.
- While still holding the switch, press and hold the brake pedal.
- Now, press the EPB switch down to the “release” position.
- Release the brake pedal and the EPB switch. Test the function.
Bi-Directional Scan Tool Professional Only
Manual Override (Shop Transport Only)
Module Reflash Dealer Only
Don’t Skip This: Post-Repair Validation
You think you’re done? Not yet. After any EPB service, especially a calibration, you must perform these safety checks. I never let a car leave my bay without doing them:
Safety Verification Steps I Always Take
-
Functional Hill Test: Find a safe, quiet incline (at least 15% grade). Apply the EPB, put the transmission in neutral, and release the foot brake. The vehicle must hold its position for at least one minute without creeping. This is non-negotiable.
-
Auditory Check: Apply and release the EPB a few times. The motor should engage and disengage smoothly, stopping within 3–5 seconds. If you hear prolonged whirring, grinding, or clicking, your calibration failed or you have a mechanical issue.
-
Scanner Verification: Connect your scan tool one last time. Confirm that status messages like “Basic Settings: Complete” are displayed and, critically, that there are no pending or active Diagnostic Trouble Codes (DTCs) related to the EPB system.
Cost, Risk & When to Call a Pro
Here’s a breakdown of what you’re looking at in terms of cost and risk for these repairs, based on what I see in the field:
| Repair Type | DIY Cost (Tools) | Shop Cost (Labor) | My Success Rate | Secondary Risk |
|---|---|---|---|---|
| Switch Sequence | $0 (if applicable) | $0 (if applicable) | 85% (for applicable models) | Low. Worst case, it doesn’t work. |
| Generic OBD2 Scanner | $100 (for the tool) | $75–$150 (for diagnosis/attempt) | 40% (often can’t do the job) | Medium. Some cheap scanners can actually lock the module, making it harder to fix. |
| Bi-Directional Tool | $400+ (for the tool) | $150–$300 (for diagnosis/calibration) | 98% (this is the right tool for the job) | Low. Very effective when used correctly. |
| Actuator Replacement | Part Cost ($150-$400) | $450–$800 (parts + labor) | 95% (if the actuator was truly faulty) | High if installed incorrectly or if the underlying issue wasn’t the actuator. |
My Best Advice: Prevention is Key
Before you even think about removing any rear brake components, check your vehicle’s infotainment system or dash menu for a built-in “Brake Pad Change Mode” or “Service Mode.” Activate it! It’s there for a reason. Also, if you’re disconnecting the battery for any reason, use a 9V memory saver. It prevents a lot of headaches. Just remember, the EPB is a computer-controlled system; it expects to be spoken to in the right order.
