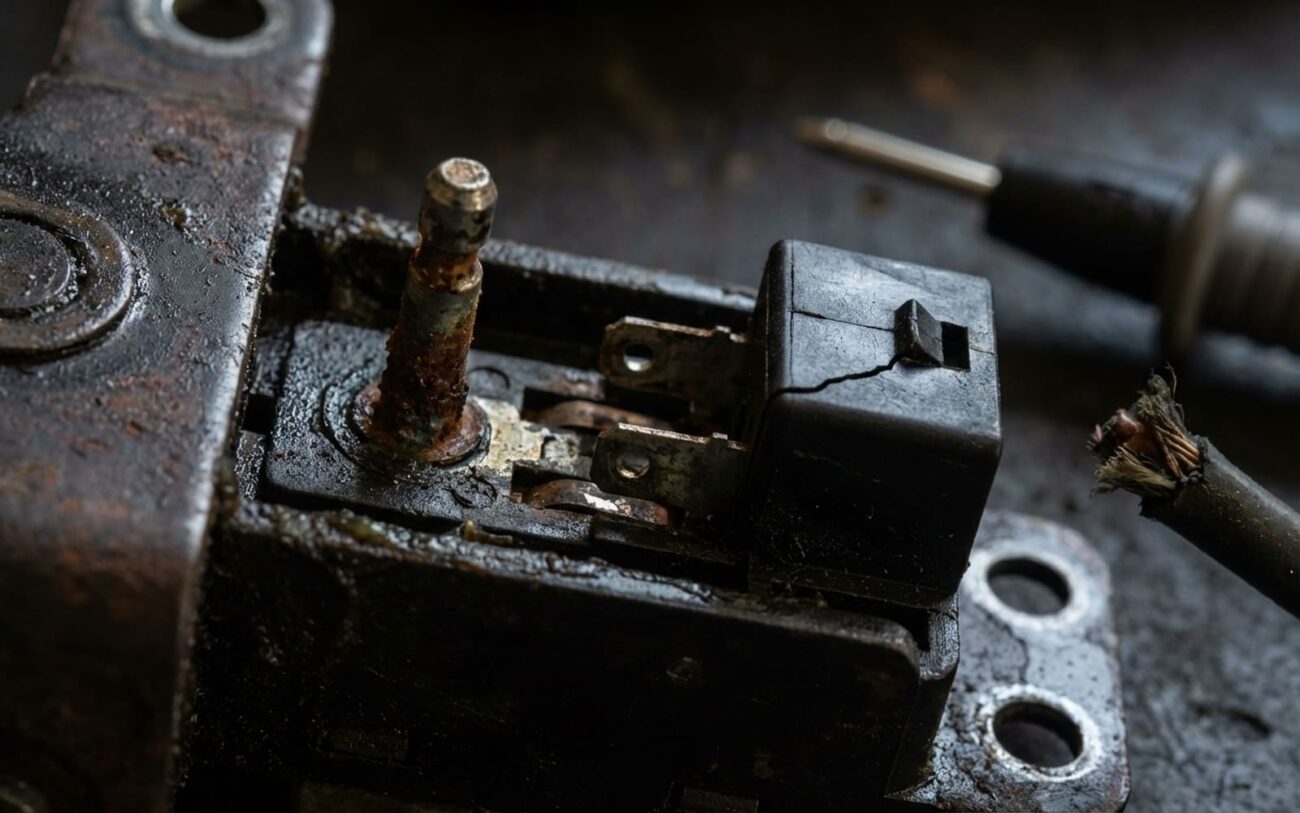
Power seat only moves one way? I see this every week in the shop. Driver’s side stuck too far forward, can’t reach the pedals. Passenger side frozen mid-slide, making entry a circus act. You press the switch—nothing. Or worse, it hums but won’t budge. Don’t start yanking parts yet. That’s how you waste money and still end up with the same problem.
Let me tell you what I’ve found over 25 years: 9 out of 10 times, it’s either the switch, the motor, or the wiring between them. And no, you don’t need a scan tool for this. You need a multimeter, a flathead, and a method. I’ll walk you through exactly how I diagnose it—step by step, no fluff.
Symptom First, Theory Second
I don’t care what the owner thinks is wrong. I watch, listen, and test. Here’s what I look for—and what each clue actually means.
No movement, no sound in one direction? That’s not “weak.” That’s dead. Either the switch isn’t sending power, the motor’s internal circuit is open, or the wire’s cut somewhere. Could also be a bad ground, but that usually kills both directions.
Motor buzzes but seat won’t move? Classic gear failure. The motor spins, but the plastic gear inside the gearbox is stripped. I’ve seen it on Fords, GMs, even some Lincolns. The gear looks fine until you pull it apart—then you see three teeth missing and a crack running radially. And yes, it matters if you drive with coffee between your legs. Spills creep in, dry out the grease, and accelerate wear.
One direction slow or jerky? That’s resistance—either in the motor (worn brushes), the switch (pitted contacts), or the wiring (corrosion in the connector under the seat). Voltage drop testing will tell you where.
Test Like a Pro—Not a Parts Swapper
You want answers, not guesses. So here’s how I test—every time.
(Skip this if you’ve already checked the fuses. Yes, it happens. I’ve seen a $2 fuse kill a seat on a $70k truck.)
What’s Actually Breaking Inside
Most power seat motors are bidirectional DC units with a worm gear and plastic reduction gear. They’re not built to last 200k miles—especially if you’ve got kids slamming the switches.
The carbon brushes wear down over time. When one loses contact with the commutator, you lose one direction. I’ve taken apart motors where one brush was completely gone, just a nub left. And if the spring breaks? Same result. The armature can develop an open winding, which kills one direction electrically. No fix—motor’s junk.
The plastic gear? Yeah, it’s cheap. On 2015–2017 F-150s, I see this weekly. The gear looks fine until you rotate it—then you see the missing teeth. And once it starts slipping, metal shavings get into the motor, accelerating failure.
Switches fail from contamination. Coffee, soda, sweat—anything that gets in there corrodes the contacts. I’ve seen switches where one direction was dead because a drop of energy drink bridged two contacts and fried the trace. And no, you can’t clean it reliably. The contacts are sealed, and disassembly usually breaks the housing.
How I Fix It—Ranked by Practicality
Replace the Switch DIY-Feasible
Disconnect the battery. Remove the trim panel (use plastic tools—don’t gouge the plastic). Unclip the switch, unplug it, plug in the new one. Test before reassembling. On memory seats, make sure the replacement is compatible. I’ve seen mismatched switches cause module errors. Cost? $40–$150. Labor? 30 minutes.
Replace the Motor DIY-Feasible to Professional Only
You’ll likely need to unbolt the seat. Four 15mm or E14 bolts, usually. Tilt the seat forward for access. Unplug everything—including the seat position sensor if equipped. Disconnect the motor from the drive cable. Never power the motor while it’s disconnected. No load = overspeed = destroyed motor. Torque seat bolts to 35–50 ft-lbs. Loose bolts are a crash risk. Some models (BMW, Cadillac) need module recalibration after. Don’t skip it.
Repair the Motor (Gear Replacement) DIY-Feasible for the Skilled
If the gear’s the only issue and you can get a rebuild kit, go for it. I’ve done this on GM bucket seats—split the housing, swap the gear, clean out old grease, re-lube with dielectric grease. Bench-test before reinstalling. But if the brushes or armature are shot? Waste of time. Only do this if your voltage tests confirm the motor is getting power but not moving.
Manual Override Last-Resort
Some motors have a hex hole on the shaft. Use an Allen key to move the seat manually. It’ll get you driving, but you’re stuck at that position. No adjustments, no memory. And if you’ve got a passenger who needs to move the seat? Tough luck. This is a band-aid, not a fix.
Did It Actually Work? Test It Right.
Don’t just move the seat forward and back once and call it good. Run it through the full range. Listen for grinding. Check both directions under load—have someone sit in the seat while you operate it. If it hesitates or slows down, you’ve still got an issue.
On memory seats, save the position and recall it. If it doesn’t return to the exact spot, the position sensor or module may need recalibration. And check for TSBs. Ford had a bulletin on 2014–2018 Explorers for motor brush wear—updated motor design. GM did the same for Silverado seat gears. Free fix if you’re under warranty or it’s a recall.
To Prevent Recurrence
-
Keep drinks away from the console. I’ve pulled more switches ruined by soda than I can count.
-
Vacuum under the seats every few months. Dirt gets in the tracks, binds the gears.
-
If the seat starts slowing down, don’t wait. Worn brushes will fail completely—usually when you need it most.
-
On high-mileage vehicles, consider replacing the motor preemptively if you’re already in there. It’s not much extra labor.
Cost vs. Value: Is It Worth Fixing?
Here’s what you’re looking at:
Switch Replacement
High success rate. Just make sure it’s the right part for your trim and options.
Motor Assembly Replacement
Depends on labor access. Some seats are easy. Some require dash panel removal—don’t believe anyone who says “all seats are the same.”
Motor Gear Repair Kit
Saves money if you’re handy. But it won’t fix electrical wear.
Used Seat Assembly (Salvage)
Often the most reliable fix. Full working motor, track, switch. Just verify compatibility with memory systems.
My rule? If the repair costs more than 40% of the car’s value, go salvage. A used seat from a junkyard with low miles is often more reliable than a new aftermarket motor. And yes, I’ve installed them. Just make sure to check for module pairing requirements—especially on German and luxury brands.
