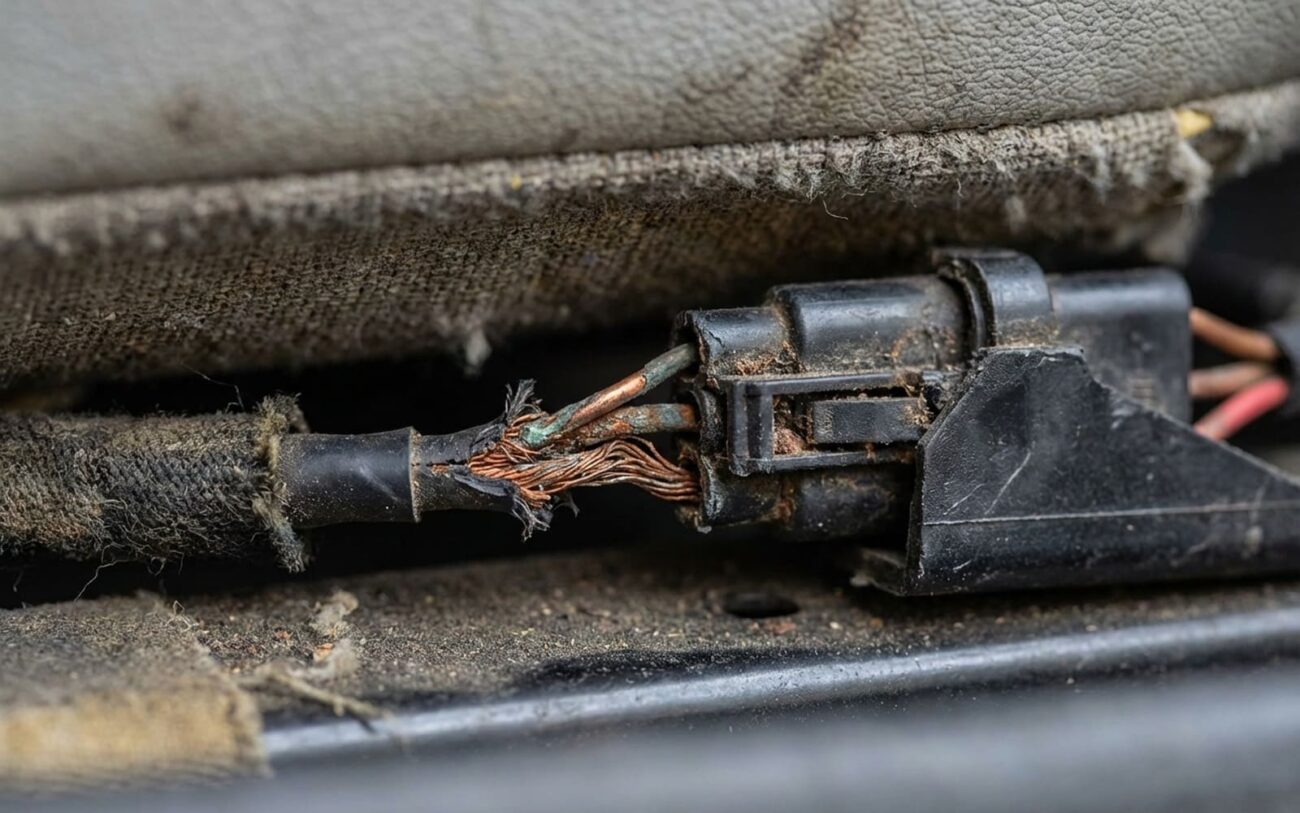
Heated Seat Troubleshooting: Real Talk from the Bay
I’ve been fixing these things for over 25 years—heard every story, seen every hack. And let me tell you: when a heated seat fails, 9 times out of 10, it’s not the switch, not the fuse, not some fancy control module. It’s the heating element. And not just “failed”—it’s cracked, fatigued, or burned out from years of you sitting down hard.
But here’s the catch: the symptoms can lie. No heat? Could be the element. Could also be a broken wire under the seat rail, or a thermal fuse that tripped and won’t reset. So before you start ripping apart upholstery, let’s figure out what’s really going on.
What’s Really Broken? (Spoiler: It’s Not Always the Element)
I can’t tell you how many times someone’s replaced the heater pad only to find out the problem was a $2 fuse or a connector full of road salt. So let’s walk through this like pros—not guessers.
The heating circuit has five main parts: fuse → switch → wiring → thermal limiter → element. A failure at any point kills the whole system. But the way it fails tells you where to look.
| Symptom | Element Likely? | Other Usual Suspects | How to Confirm |
|---|---|---|---|
| No heat in seat back, cushion works | Yes — localized break | Blown fuse, bad switch, wiring break at hinge |
Test 1: Check for 12V at the element connector when heater is on. No power? Work backward—fuse, then switch. Got power? Test resistance. OL = dead element. |
| Heat cuts out when you shift or lean | Almost certainly | Loose connector, damaged harness, failing thermal fuse |
Test 2: Disconnect element. Use multimeter in ohms. Flex the seat while watching the reading. If it jumps to OL, you’ve got a cracked wire. I do this on every suspect seat—catches what static tests miss. |
| Bubbling or burn marks on seat | Yes — hot spot from break or fold | External heat (cigarette, laptop), UV damage, spilled coffee |
Test 3: Remove cover, inspect pad. Look for carbon tracking, melted substrate, or pinched wires. Test resistance across the damaged zone—should be OL or near zero (short). Either way, it’s done. |
Why Heating Elements Fail (And Where They Break)
I’ve pulled apart hundreds of these. The failure pattern is always the same: the wire breaks near the front edge of the seat cushion. Why? Because that’s where the most flex happens every time you sit down. Over time, the wire work-hardens and snaps. It’s not a defect—it’s physics.
Another weak spot: the bus bar connection. That’s where the power lead attaches to the heating wire. If the factory crimp was weak, it becomes a hotspot and burns out. I’ve seen this on 2012–2016 BMWs and some Audis—recurring issue.
Less common but just as bad: physical damage. Dog claws, dropped tools, seat-mounted child seats with sharp brackets—they all punch through the pad. One puncture can short the circuit or create a hot spot.
And don’t confuse a blown thermal fuse with a bad element. The fuse is a safety device—usually a little white clip wired into the pad. If it opens, the heater stops. But the element might be fine. Test before you replace.
How to Test the Element (Step by Step)
Grab your multimeter. Set it to ohms (Ω). Disconnect the battery negative terminal—safety first.
Now, get to the element connector. On most cars, that means removing the seat. Watch for airbag connectors—don’t yank them. Once you’ve got access, disconnect the heater plug and test the element side.
A healthy single-zone element reads between 1 and 4 ohms. OL? Open circuit—wire’s broken. Near zero? Shorted. Both mean replacement.
For intermittent issues, do a dynamic test: attach the leads, set to continuity, then flex the seat. Press on the bolsters, shift your weight. If the beep cuts out, you’ve found the break.
Dual-zone seats? Test each circuit separately. They’re independent. Don’t assume both are dead just because one failed.
Now What? Repair, Replace, or Walk Away?
Repair? Only If You Know What You’re Doing
I’ve repaired broken wires using conductive fabric tape—OEM-approved stuff, not duct tape and hope. But it’s not for beginners. You’ve got to open the seat cover, locate the break, splice cleanly, insulate with high-temp tape, and reassemble without pinching. One fold in the wrong place and you’ve created a new hot spot. And if you’re wrong about the break location? You’re doing it all over again.
Replace the Pad — Most Reliable Fix
Temporary? Unplug It. That’s It.
After the Fix: Did It Work?
Don’t just turn it on and say “feels warm.” That’s not testing.
First, check resistance. Should be within 10% of spec—1 to 4 ohms. Then reassemble, reconnect battery, and run the heater on high for 10 minutes.
Feel the surface. Is the heat even? Any spot hotter than the rest? Grab an infrared thermometer—scan the surface. Anything over 45°C (113°F) means trouble. Hot spots mean a bad repair or defective pad.
And if the car has ADAS or a body control module, scan for codes. A heater fault can set a DTC. Clear it. Otherwise, the system might disable itself.
How to Make It Last Longer
-
Don’t slide across the seat. Get in and sit straight down. The side bolsters take the worst abuse.
-
No kneeling, no heavy toolboxes. That foam doesn’t forgive.
-
If the heat flickers when you move, test it now. A single break can be repaired. A shredded pad can’t.
-
Check for moisture if you’ve had interior work. Spilled cleaning fluid or coolant near the connector can corrode wiring.
Is It Worth Fixing?
Let’s be real. I’ve got a rule in my shop: if the repair costs more than 30% of the car’s value, and the seat doesn’t have ventilation or memory, just skip it.
Dropping $700 on a heater for a $2,500 Corolla? No. Get a $60 heated seat cushion from Amazon. Problem solved.
| Repair Type | DIY Cost | Shop Cost | Success Rate | Risks |
|---|---|---|---|---|
| Professional Wire Repair | $40–$60 | $200–$400 | 80% (if break is near edge) | Hot spots, repeat failure, upholstery damage |
| Full Pad Replacement | $150–$300 | $500–$800 | 98% | Airbag faults, wiring pinches, new damage |
But if you’re in a luxury car, or you need the heat for medical reasons (arthritis, circulation issues), then yes—fix it right. Just don’t cut corners.
