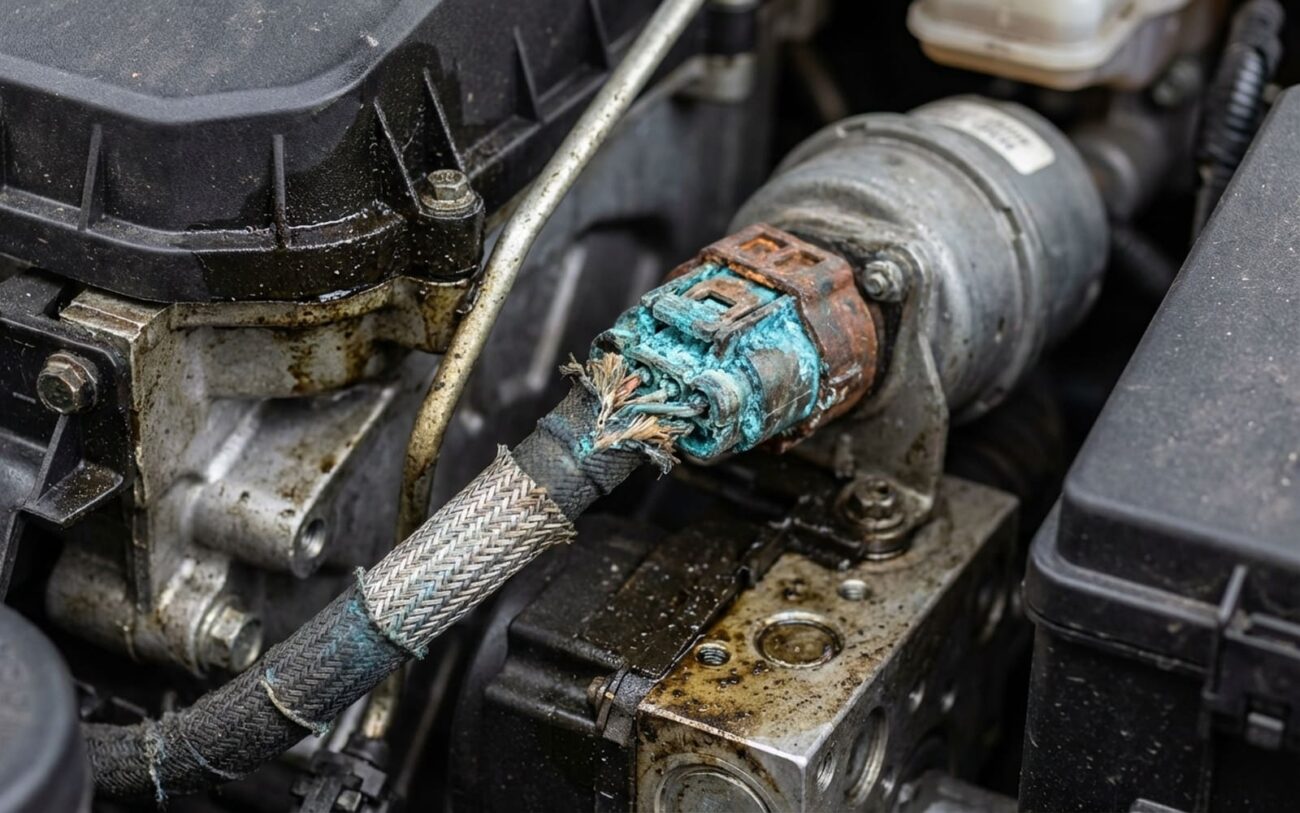
When the regenerative braking decides to take a vacation on your Hyundai Ioniq—whether it’s the full electric or the plug-in hybrid—it’s not like a typical brake problem. You won’t hear grinding, and the pedal won’t feel soft. What you get instead is a car that just feels… disconnected. I’ve seen this plenty of times, and it usually means we’ve got some digging to do.
What You’ll Notice: The Symptoms
The most obvious clue is right there on your instrument cluster. You lift off the accelerator, expecting that familiar drag and the “charge” indicator to light up, but it just reads 0 kW. No negative load, no energy going back into the battery. Your Ioniq just coasts, like it’s in neutral. Doesn’t matter if you’re in i-Pedal, Smart Regen, or manually set to max — that engine-braking effect, which is so key to driving these cars, is just gone.
You’ll almost certainly see a warning light pop up too. It’s usually a car icon with circular arrows, often with the yellow master warning lamp. Hyundai calls this the “regenerative braking malfunction warning,” and it’s basically the car telling you, “Hey, I’ve disabled the system for safety.” Now, this is important: your hydraulic brakes still work. This isn’t a total brake failure. But they’re doing all the heavy lifting now, which means your pads and rotors will wear out a lot faster. And if you live in a hilly area, you’re risking overheating those friction brakes because the blended braking support isn’t there.
Here’s a hidden consequence I often see: the 12V auxiliary battery. These Ioniqs use regenerative energy to indirectly recharge that 12V system. Without regen, especially if you’re doing a lot of short trips, that 12V battery can get chronically undercharged. A weak 12V can cause all sorts of headaches—communication errors, modules failing to start up, or even leaving you stranded with a perfectly full high-voltage battery. It’s a common oversight.
My Approach to Diagnosis: Don’t Guess, Test.
My first rule with regen issues is: don’t assume the worst. A failed inverter or control unit is expensive, so we need to rule out the simpler stuff first. The regenerative braking system is a closed loop, meaning if any sensor in that chain reports bad data, the car disables regen as a safety measure. It’s not necessarily that the system is dead; it’s often just tricked into shutting down. Many “regen failures” are really just faulty inputs.
This is where a professional-grade scan tool becomes invaluable. I use the Hyundai GDS diagnostic tool in my shop, and it’s worth its weight in gold for these cars. Generic OBD2 scanners will often miss the specific U-codes and proprietary P0Axx codes that are tied directly to the hybrid systems. You need to check for codes, verify sensor signals, and monitor live data streams. That’s the only way to isolate the true source.
Common Mimics & How I Pinpoint Them
Based on what I’ve seen, here are the usual suspects that can make your Ioniq act like it’s lost its regen, and how I go about checking them:
-
Complete 0 kW Regen: If you’re getting absolutely no regen, it could be an internal fault in the Electric Vehicle Control Unit (EVCU) or Motor Control Unit (MCU), or even degraded stator windings in the Hybrid Starter Generator (HSG). But first, I always check for external mimics. A faulty brake pedal position sensor can send a constant “brake applied” signal, telling the car not to regen. Or a failed wheel speed sensor can trigger the ABS/ESC, which then disables regen.
To confirm: I scan the EVCU, MCU, and ABS modules for codes like U1100, U1110, or any P0Axx codes. Then, with the GDS, I try to command regen torque directly. I also grab a multimeter and test the brake switch — it’s a simple, quick check that often saves a lot of time.
-
Regen Warning Lamp On: This usually points to an EVCU internal processor fault or a loss of CAN communication between the EVCU, MCU, or the HV battery. But don’t jump to conclusions. A weak 12V auxiliary battery, a corroded ground, or even a communication dropout in the Body Control Module (BCM) can trigger this light.
To confirm: I check CAN bus activity with the GDS. You’re looking for consistent communication across modules. I also inspect the EVCU’s power and ground circuits, making sure they’re solid. And, of course, I load test that 12V battery. You’d be surprised how many weird electrical issues trace back to a dying 12V.
-
Coasting Behavior (No Regen or Drive): If the car is just coasting and not engaging drive or regen, it could be an MCU failure in engaging generating mode, perhaps due to an inverter or DC-DC converter fault. However, I’ve also seen this when the drive mode switch is stuck in “Neutral” or “Coast,” or if the shift lever unit (SLU) is reporting an incorrect gear.
To confirm: I monitor the drive mode and gear selector signals via GDS. This tells me what the car thinks it’s in. I’ll also run the SLU self-diagnostic and visually inspect the switch for any physical damage or debris.
The Real Root Causes: When It’s More Than a Sensor
Once I’ve ruled out all the sensor and switch issues—and that’s always my first priority—the problem is likely inside one of the main electronic control units: the EVCU, MCU, or HSG. These are sealed, high-integration units. Failures here are almost always electronic or software-related; there’s no mechanical wear like you’d find in an engine or transmission.
One common hardware issue I’ve observed is thermal cycling fatigue in the MCU’s power inverter. The inverter uses IGBT transistors to convert DC battery power to AC for the motor, and then back again during regeneration. These components heat up fast under load and cool down when idle. Over time, that constant expansion and contraction can crack solder joints on the circuit board. I’ve seen this more than once in Ioniqs that get a lot of regen usage, especially in stop-and-go traffic or if they’re driven hard in mountainous areas.
Thermal stress can also damage the IGBTs themselves. If the cooling system for the inverter is low on fluid or the pump starts to fail, that inverter will overheat. The system will then derate regen, or disable it completely, to protect those expensive components. It’s a self-preservation mechanism, but it leaves you without regen.
Software glitches are another very real possibility. The EVCU uses complex algorithms to figure out how much regen to apply based on speed, battery state of charge, and what the driver is doing. If that calibration gets corrupted—say, from a voltage spike, an interrupted software update, or even just a module reset—it can disable regen. Hyundai has issued service bulletins for certain model years addressing regen logic flaws, though they’re not always tied to a single, easily identifiable TSB number.
And just to be clear, because I get asked this sometimes: things like brake fluid level, pad wear, or the condition of your wheel bearings don’t cause regen failure. They’re inputs to the system, not the components that generate or control the regen itself. If a wheel speed sensor fails, it might trigger a fault, but the root cause isn’t the bearing; it’s the signal from the sensor.
Getting It Fixed: Your Repair Options
Software & Calibration Corruption
⚠️ HIGH-VOLTAGE SAFETY WARNING ⚠️
If the diagnosis points to internal defects in the MCU or EVCU, you’re looking at high-voltage work. Do not attempt this without proper training, specialized tools, and safety gear. You’ll need: a high-voltage disconnect tool, Class 0 insulated gloves, a digital multimeter capable of reading HV, a torque wrench, and a vacuum filler for the cooling system. This isn’t DIY territory unless you’re certified.
MCU or EVCU Replacement Professional Only
- First, shut down the HV system completely using the service plug.
- Then, disconnect the 12V battery.
- Always verify the DC-Link capacitor voltage in the MCU is below 60V DC before touching anything else.
- Disconnect all coolant lines, electrical connectors, and mounting bolts.
- Replace the unit, ensuring you torque everything to spec (MCU mounting bolts: 20–25 Nm; HV connectors: 10–12 Nm).
- Refill the cooling system with OEM-approved low-conductivity coolant. This is critical—non-OEM fluid can cause internal arcing and destroy your new module.
- Finally, reconnect everything and reprogram the new module using the GDS. It’s not plug-and-play.
Internal, Non-Repairable Defects
A Temporary Trick I’ve Used:
Sometimes, if it’s a soft fault, you can clear it by resetting the 12V system. Disconnect the negative terminal, wait about 15 minutes for all the modules to power down and reset, then reconnect it. This might make the “regenerative braking malfunction warning” go away for a bit. But I’ll tell you right now, if the root cause is hardware or persistent software corruption, that light will be back. It’s a band-aid, not a fix.
Post-Repair Validation: Don’t Skip This!
Never, ever assume a repair is complete just because the warning light is off. You have to validate the performance and safety. I always run through this checklist:
My Validation Checklist
-
For software fixes: Clear all Diagnostic Trouble Codes (DTCs), restart the vehicle, and then monitor the regen torque via GDS. The commanded and actual values should match up perfectly.
-
For hardware replacements: I always run a high-voltage isolation test. The resistance between any HV components and the chassis needs to exceed 550 Mohm. This is a critical safety check.
-
Cooling system: Verify the integrity of the cooling system — no leaks, proper fill level, and absolutely no air pockets. Air in the system can lead to hot spots and future failures.
Cost, Risk, and Making the Right Call
Here’s the reality check on what these repairs usually run. Keep in mind, these are averages and can vary wildly by region and shop:
| Repair Type | DIY Cost (Tools Extra) | Shop Cost (Parts & Labor) | My Success Rate | Secondary Risk |
|---|---|---|---|---|
| Software Re-flash | $0 (if you have GDS) | $150 – $300 | High (>90%) | Low. But a real risk of bricking the module if voltage drops. |
| MCU Replacement | ~$1,500 + tools | $2,800 – $4,200 | High | High. Significant HV handling risks for DIY. |
| EVCU Replacement | ~$800 | $1,200 – $1,800 | High | Medium. Risk of vehicle immobilization if not programmed correctly. |
If you’re looking at a full MCU replacement, get a comprehensive quote. My rule of thumb is this: if the repair cost starts to exceed 50% of your Ioniq’s current market value, you’re making a financial decision, not just a mechanical one. Consider the car’s age, mileage, and its overall long-term reliability. Sometimes, the smarter move is to cut your losses and reinvest that money into a different vehicle.
Prevention & Monitoring: My Advice
You can’t prevent every electronic failure, that’s just a fact of modern cars. But you can significantly reduce your risk.
Cooling system maintenance is absolutely critical. The MCU and inverter generate a lot of heat during regen, and they need proper cooling. Use only Hyundai-specified low-conductivity coolant and replace it according to the maintenance schedule. Never, ever top it off with conventional coolant — its higher conductivity can induce stray currents and damage those sensitive electronics. I’ve seen it happen.
Monitor your regen performance regularly. Get into the habit of watching that kW readout on your dash. If you start noticing a gradual decline — say, from a maximum of -50 kW down to -30 kW over time — that’s a red flag. It could indicate thermal derating because of coolant issues, early inverter degradation, or even increasing resistance in the HSG windings.
Address warning lights immediately. Even if the regen seems to come back on its own, a stored code can reveal an intermittent fault that’s just waiting to become a hard failure. Use a capable scanner to pull codes early. Many “Hyundai Ioniq regenerative braking not working” issues start as soft faults that escalate into something much more expensive.
And if you ever wash the engine bay, be careful. Moisture in connectors can mimic all sorts of sensor faults. I’ve chased my tail on that one more than once.
