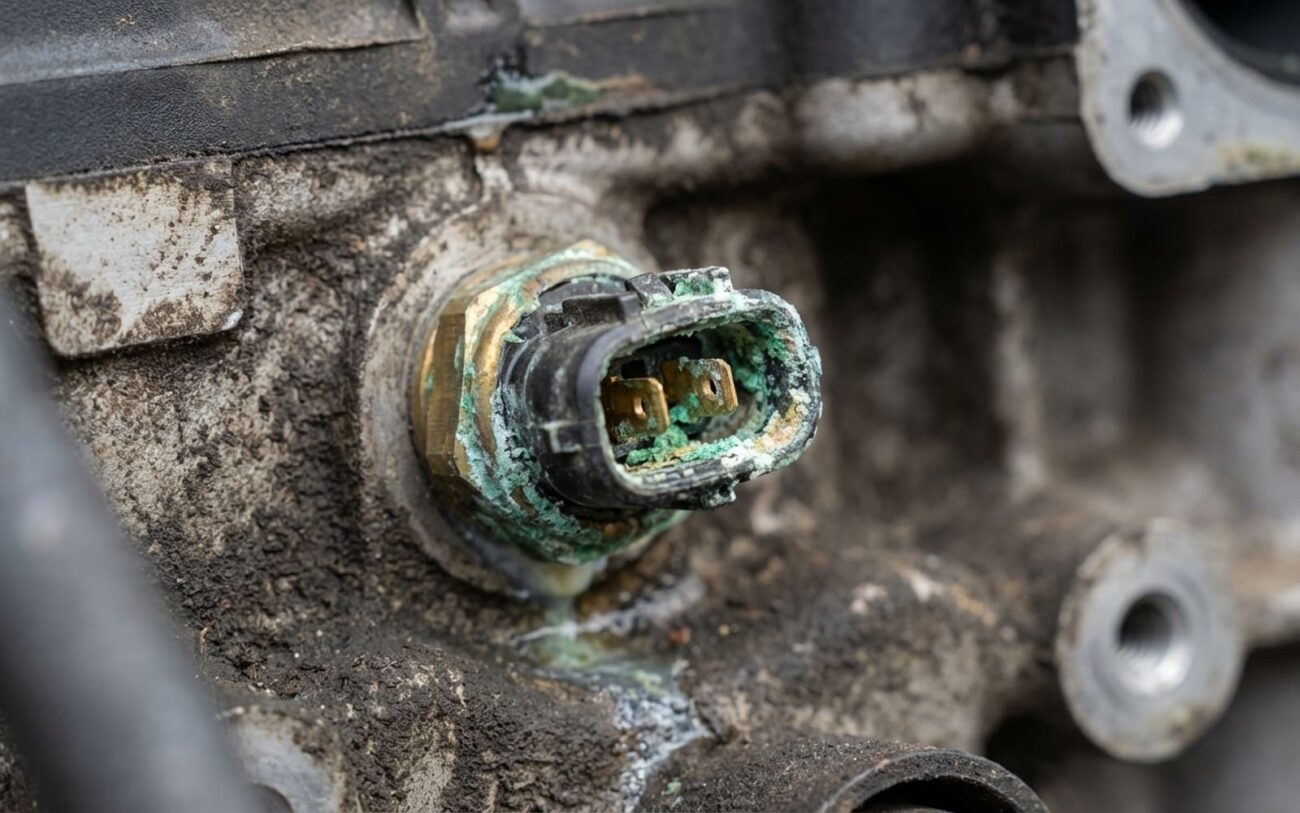
Alright, let’s talk about the electric cooling fan. If you’ve ever been stuck in traffic, watching your temperature gauge creep into the red, only for it to drop back to normal once you get moving again, you’ve almost certainly got a fan issue. I’ve seen this exact scenario play out thousands of times over my 25+ years in the shop, and it’s a dead giveaway.
Here’s the deal: when you’re cruising down the highway, the air rushing through your grille naturally cools the radiator. But at idle, or crawling along in rush hour, that natural airflow disappears. That’s when your electric cooling fan is supposed to kick in, pulling air through the radiator to keep your engine from cooking. If it’s not doing its job, heat builds up fast. It’s simple physics, really.
Quick Check: Is Your Fan Even Trying?
Before you start tearing things apart, there’s a simple test I always run. Drive the vehicle for about 10-15 minutes until it’s fully warmed up – operating temperature, that is. Then, pull over, park it, and leave the engine running. Pop the hood and turn your air conditioning to MAX. Within about a minute, you should hear that fan kick on, usually at a lower speed first. If you hear nothing, the fan isn’t responding. If you hear a click from a relay but the fan still doesn’t spin, you’re likely dealing with a dead motor or a power delivery problem to the fan itself.
Beyond the Fan: Ruling Out Other Issues
Now, while overheating at idle usually screams “fan problem,” you’ve got to be careful. Other cooling system failures can mimic it perfectly. You need to rule those out before you start throwing parts at the problem. I’ve put together a little table here that breaks down the common symptoms, what they might mean, and how to really nail down the culprit. It’s about working smart, not just hard.
| Symptom | Likely in Fan System | Common External Mimics | Definitive Test to Confirm Source |
|---|---|---|---|
| Overheating at idle, normal at speed | Fan motor failure, seized bearings, broken blade, obstructed shroud | Stuck-closed thermostat, low coolant, collapsed lower radiator hose, failing water pump impeller |
Use an infrared thermometer on upper and lower radiator hoses at operating temp. A stuck thermostat shows a hot upper hose and a cold lower hose. Fan failure shows both hoses hot, but no measurable airflow through the radiator core. |
| No fan operation when A/C is on MAX | Open motor windings, seized bearings, broken blade | Faulty cooling fan relay, blown fuse, failed coolant temperature sensor, bad A/C pressure switch, PCM command failure |
Perform a voltage test at the fan connector while the system is commanded ON. Voltage within 0.5V of battery (12.6V+) with no movement = bad motor. Low voltage = issue upstream (relay, fuse, wiring). |
That voltage test I mentioned? That’s critical. If you’ve got full power – I’m talking within half a volt of battery voltage, so 12.6V or more – right at the fan plug, and that fan still doesn’t turn, then the motor itself is dead. No question. But if you’re seeing low voltage, or no voltage at all, then your problem isn’t the fan motor; it’s somewhere in the control circuit. That means you’re looking at a fuse, a relay, a sensor, or even a wiring issue.
From there, I’d check for relay clicks, use a test light on the fuses, and if I have a scan tool handy, I’d verify that the PCM (your car’s computer) is actually sending the command for the fan to turn on. Sometimes, though it’s rare, a software glitch can prevent that command from going out. It’s similar to how a software bug can mess with your backup camera or navigation system. It’s not the first thing I check, but it’s worth considering if everything else checks out clean.
Why Fans Fail: Common Root Causes
Okay, so you’ve confirmed the fault is definitely in the fan assembly itself. Good. Now, let’s talk about what typically goes wrong with these things – and why. Knowing the root cause helps you understand the fix and prevent future problems.
1. Motor Electrical Failure: This is probably the most common. Inside that motor, you’ve got armature windings insulated with a thin varnish. Over time, all that heating and cooling, plus exposure to moisture, just degrades that insulation. Eventually, you get open circuits or shorts to ground. If it’s an older brushed motor, those carbon brushes wear down and stop making contact. You’ll often see charring or smell something burnt around the motor terminals when this happens.
2. Bearing Failure: The motor shaft spins on sealed bearings. But those seals aren’t perfect, especially with road splash or a slow coolant leak. Moisture gets in, corrodes the bearings, and increases friction. You’ll hear grinding noises, and eventually, the motor just seizes up. I’ve seen this repeatedly on certain GM crossovers, like the Equinox and Terrain from 2018-2020, where the fan is mounted low and just gets soaked. GM even put out a service bulletin for it. It’s a common issue on many front-wheel-drive platforms where the fan is exposed to the elements.
3. Physical Damage: Fan blades are usually molded plastic, and they get brittle with age. Vibration, or a stray wrench dropped during engine work, or even road debris kicking up through the grille can crack or break a blade. Even a small crack creates an imbalance, which causes severe vibration and will eventually destroy the motor’s bearings prematurely.
4. Fan Speed Resistor Failure: Many vehicles use multi-speed fans, and those lower speeds are often controlled by an internal or inline resistor. Resistors generate heat – that’s how they work – and they’re prone to burning out. When this happens, the fan might only run at high speed, or sometimes not at all, depending on the circuit design. This is a frequent cause of those “fan only works when the engine is really hot” complaints I get.
And just to be clear: if you’ve got a bad coolant temperature sensor, a blown fuse, or a failed relay, that’s not a fan problem; that’s a control system issue. The fan motor is just the last link in the chain. Always diagnose that command signal before you assume the motor itself is toast.
Getting It Fixed: Your Options
Alright, you’ve pinpointed the fan assembly as the problem. Good work. Now, what’s the best way to get it fixed? You’ve got a few pathways, depending on your skill level and what exactly failed.
Complete Fan Module Replacement DIY-FEASIBLE with electrical safety knowledge
Fan Motor-Only Replacement DIY-FEASIBLE
Wiring or Connector Repair DIY-FEASIBLE
Temporary Bypass (Emergency Only) TEMPORARY / LAST-RESORT
Don’t Just Assume It’s Fixed: Post-Repair Validation
So, you’ve put in the new fan, or fixed the wiring. Great. But don’t just assume it’s fixed because it spins. You need to verify full, proper operation. This is where a lot of DIYers cut corners, and it can lead to bigger headaches down the road.
-
Electrical Confirmation: Get the engine to operating temperature, turn the A/C to MAX. If you have a scan tool, confirm the PCM is sending a fan command. Check your live data for coolant temperature – it should stabilize between 195°F and 220°F (about 90-105°C) once the fan is running.
-
Functional Test: Let that engine idle with the A/C on for 20-30 minutes in a safe, well-ventilated area. Keep an eye on the temperature gauge or your scan tool. The fan should cycle between its low and high speeds as needed, based on the engine’s load and temperature.
-
Thermal Check: Grab your infrared thermometer. Verify even heat dissipation across the radiator. The top of the radiator should be noticeably hotter than the bottom when the fan is running. That tells you coolant is flowing properly and heat is actually being exchanged.
If the fan runs, but your engine still creeps toward overheating, then you’re looking at something else. Check for air in the system (you might need to bleed it again), a failing water pump, or a thermostat that’s not opening fully. Don’t stop until that temperature gauge is rock-solid.
The Bottom Line: Cost, Risk, and When to Walk Away
Here’s a realistic breakdown of what you’re looking at in terms of repair costs and potential outcomes. This is where you decide if it’s worth it.
| Repair Type | DIY Cost (Parts) | Shop Cost (Est. Labor + Parts) | Success Rate | Secondary Risk if Failed |
|---|---|---|---|---|
| Complete Fan Module Replacement | $150 – $400 | $500 – $900 | 98% if diagnosis was correct | Continued overheating leading to head gasket failure or engine damage; possible misdiagnosis of control circuit |
| Motor-Only Replacement | $80 – $200 | $300 – $600 | 95% (requires correct reassembly) | Same as above; vibration or noise from blade imbalance if not reinstalled properly |
In my experience, if the repair cost starts creeping up towards 60% of your vehicle’s current market value, it’s time to seriously weigh your options and consider the long-term outlook. A $900 repair on a car that’s only worth $1,500 is a big gamble, unless the rest of that vehicle is absolutely pristine. Think about its overall reliability, its maintenance history, and what other big-ticket items might be coming up for replacement before you commit.
Keeping Your Cool: Prevention & Monitoring
You can’t stop wear and tear entirely – that’s just part of owning a car. But you can definitely extend the life of your cooling fan and catch problems early. A little proactive maintenance goes a long way here.
-
Keep the front end clean. Every fall, or whenever you’re under the hood, peek between the radiator and the A/C condenser. You’d be amazed how many leaves, plastic bags, or other road debris get jammed in there. Clogged fins restrict airflow, forcing your fan to run longer and hotter, which shortens its life.
-
Inspect the blades regularly. Anytime you’re doing coolant service or working near the radiator, take a moment to check the fan blades. Look for cracks, warping, or missing chunks. A blade under stress from imbalance will fail much faster.
-
Listen during startup. When your engine’s hot and the fan kicks on, pay attention to that first second of operation. A healthy fan should whir smoothly. If you hear a groan, a grind, or a scrape, that’s a classic sign your bearings are on their way out. Replace it then, before it seizes up and leaves you stranded.
-
Check for wobble. When the engine is cold, gently rock the fan blade side to side. You’ll feel a tiny bit of play, which is normal for the gear reduction, but any noticeable lateral wobble suggests a failed hub or bearing.
Catching a failing fan early isn’t rocket science, and it’s certainly a lot cheaper than buying a new engine. Treat it like any other wear item: inspect it, test it, and replace it before it decides to quit on you at the worst possible moment.
