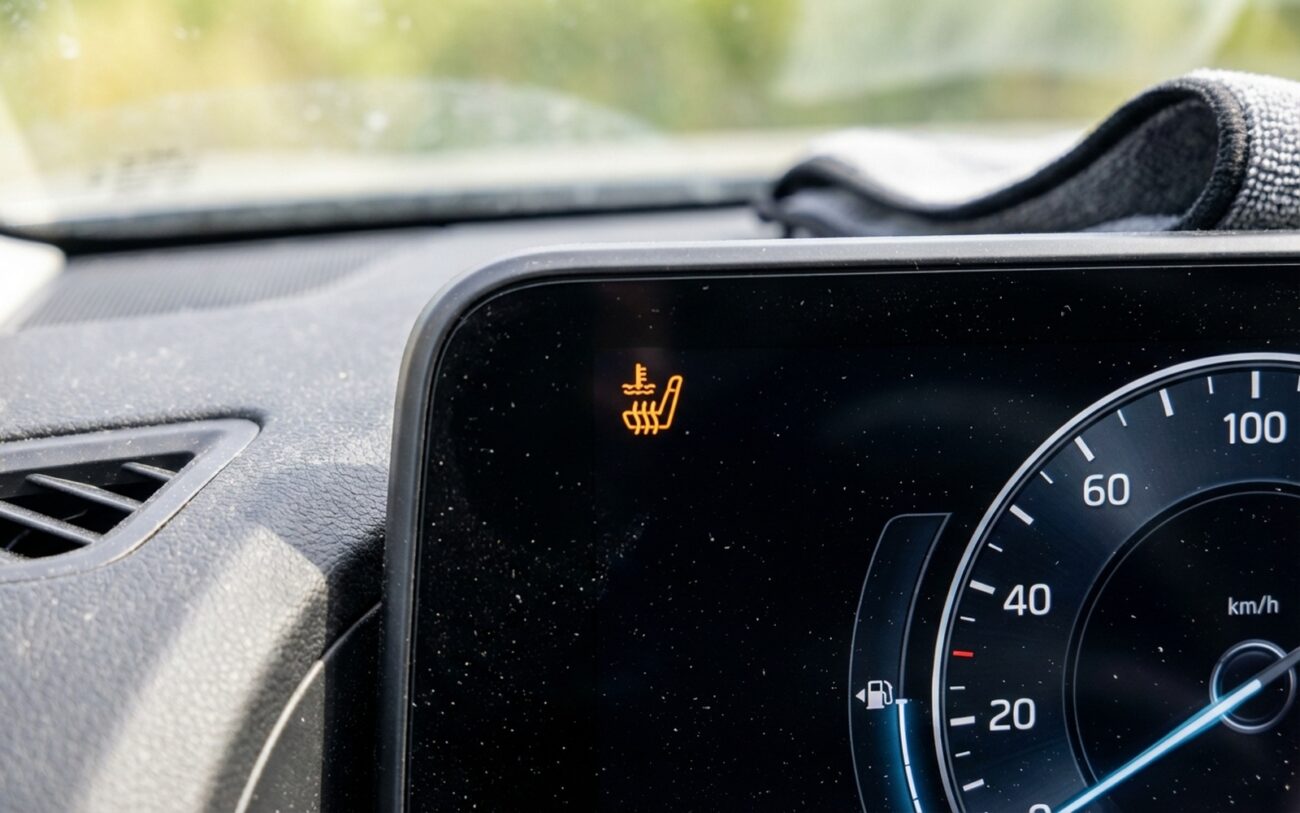
Heated seat stops working right after you cleaned it? Yeah, I’ve seen that plenty. In my shop, it’s a regular thing—especially in spring, when people deep-clean their interiors and suddenly the driver’s seat won’t warm up. The timing isn’t a coincidence. But before you rip out the whole seat or call the dealer, let’s talk about what’s actually broken, how to test it properly, and whether you can fix it without going broke.
What You’re Really Dealing With
First—let’s get one thing straight: when a heated seat fails immediately after cleaning, the odds are high the heating element inside the seat is damaged. Not the switch. Not the control module. The actual wire mesh or carbon fiber strip woven into the seat cushion or backrest.
I’ve tested dozens of these. The element is fragile. It runs just under the surface, sandwiched between foam and upholstery. You can’t see it, but it’s thin—like a guitar string coated in insulation. And it doesn’t take much to kill it: a stiff brush, too much cleaner, or moisture that wasn’t fully dried.
Common symptoms?
-
One zone dead—cushion works, backrest doesn’t (or vice versa).
-
Seat heats for 2 seconds, then cuts out. That’s the control module detecting a fault and shutting down.
-
Fuse blows the second you hit the switch. That’s a hard short—usually in the element or wiring under the seat.
-
“Heated Seat Inoperative” message on the dash. Scan tool pulls a B1501 (open circuit) or B1502 (short to ground). Seen that more than I’d like on Toyotas and Lexuses after interior detailing.
But here’s where people go wrong: they assume the element is toast without testing. That’s how you end up replacing parts you don’t need. A bad switch, corroded connector, or even a pinched harness under the seat can mimic the same symptoms.
How to Test—Don’t Guess
You need two tools: a digital multimeter and a scan tool (if the car throws codes). An infrared thermometer helps, but it’s optional.
The heating element is a resistor. Normal resistance? Between 1 and 4 ohms. That’s it. If you measure infinite resistance (open circuit), the wire is broken. If it’s near zero (short), the insulation failed and it’s touching ground.
But you can’t test it while it’s plugged in. You’ve got to isolate it.
First, check the fuse. Obvious, but I’ve seen people skip it. Then disconnect the seat harness—usually under the front edge of the seat or near the rail. On many cars, you’ll need to pull the seat to get clean access. And yes—disconnect the battery first. Airbag connectors are right there. One wrong move, and you’re adding $1,500 in airbag module costs to your bill.
| Symptom | Likely in Heater Element | Common External Mimics | Definitive Test to Confirm Source |
|---|---|---|---|
| No heat in seat cushion only | Open circuit in cushion heating element due to physical damage or corrosion. | Failed seat heater switch, faulty cushion temperature sensor, or disconnected control module signal. |
Disconnect the seat harness. Measure resistance across the cushion element pins at the seat-side connector. An open reading (>100k ohms) confirms element failure. Compare to factory spec if available. |
| Blown fuse upon activation | Short to ground within the heating element or its internal wiring. | Pinched or damaged vehicle-side harness under the seat, short in the control module output. |
With the seat disconnected and a new fuse installed, measure resistance between the heater power pin and ground at the seat connector. A reading below 0.5 ohms indicates a short in the element. Normal resistance points to an external wiring fault. |
| DTC for open circuit (e.g., B1501) | Broken wire in the heating element from mechanical stress or moisture corrosion. | Loose, corroded, or damaged connector at the seat or control module. |
Inspect connectors for bent pins, moisture, or debris. Clean with electrical contact cleaner. If code returns, perform a continuity test from the module to the element to locate the break. |
Why Cleaning Breaks the Heater
Three ways cleaning kills a heater: physical damage, chemical attack, and moisture.
Physical damage—this is the big one. Someone grabs a scrub brush or a razor to get gum or coffee out, presses too hard, and slices the heating wire. I had a guy once use a putty knife on a leather seat. Broke two wires in the cushion. Not fixable without pulling the cover.
Chemical damage—solvent-based cleaners eat the insulation. I’ve seen it on cloth seats where someone used engine degreaser. Don’t do that. Use only upholstery-specific products. Leather? Use pH-balanced leather cleaner. Cloth? Use a fabric-safe shampoo. That’s it.
Mositure—this is the silent killer. Shampoo the seat, don’t dry it, and power it on. Water gets between the heating pad and the foam, creates a short, and corrodes the wire over time. There’s a known TSB for 2010–2015 Toyota Camrys about this exact issue. I’ve had three come in this year alone with the same problem.
And no—this doesn’t mean the control module or dash switch is bad. If the fault is in the seat, that’s where the failure started.
Fix It or Live Without It?
Once you’ve confirmed the element is bad, you’ve got three options.
Try the Dry-Out Method DIY-Feasible
Localized Repair Professional-Only / Specialized DIY
Full Pad Replacement Non-Repairable → Replace
And about that “just unplug the bad zone” hack? I don’t recommend it. If it’s a short, the risk isn’t gone. Could still overheat nearby wiring. Not worth the fire hazard.
Test It Before You Close It
Don’t put the seat back together until you’ve tested it.
Final Checks
-
For a repaired element: resistance within ±10% of spec. Run three heat cycles. No DTCs. Use an IR thermometer—heat should be even. More than 10°F difference means another break.
-
For a new pad: verify resistance, clear codes, test all heat levels.
-
For dried-out seats: confirm stable resistance for 24 hours post-dry. Then full function test.
Is It Worth Fixing?
Here’s my rule: if the repair costs more than 40% of the car’s value, don’t do it. Not worth it.
| Repair Type | DIY Cost (Parts) | Shop Cost (Est. Labor + Parts) | Success Rate | Secondary Risk if Failed |
|---|---|---|---|---|
| Localized Element Repair (if kit available) | $50 – $150 | $300 – $600 | Moderate (70%) | Repair may fail under heat cycles; risk of future break near splice. |
| Full Element & Pad Replacement | $200 – $500 | $800 – $1500 | High (95%) | Poor installation can damage new element or upholstery; improper reassembly affects airbag safety. |
| Seat Replacement (Used from salvage) | $400 – $1000 | $500 – $1200 (install) | High (98%) | Risk of incompatibility with memory settings, seat occupancy sensor, or ADAS features like CAN bus-linked systems. |
And if you’re not fixing it? Have a tech disable the circuit at the fuse or module. Don’t leave it live. Then use an aftermarket seat warmer if you need heat. I’ve got customers using those $40 Amazon pads for years—works fine, no risk.
Next Time—Clean It Right
Prevention is easier than repair.
Use the right cleaner. Spray it on a microfiber cloth, not the seat. Use soft tools. Never steam-clean a heated seat. And dry it—fully—before turning the heat on. I leave mine in the sun with the windows cracked for a day after shampooing.
And test it. Turn it on, let it run a minute. If it cuts out, smells funny, or trips a fuse—stop. Let it dry longer. That 60-second check could save you $800.
