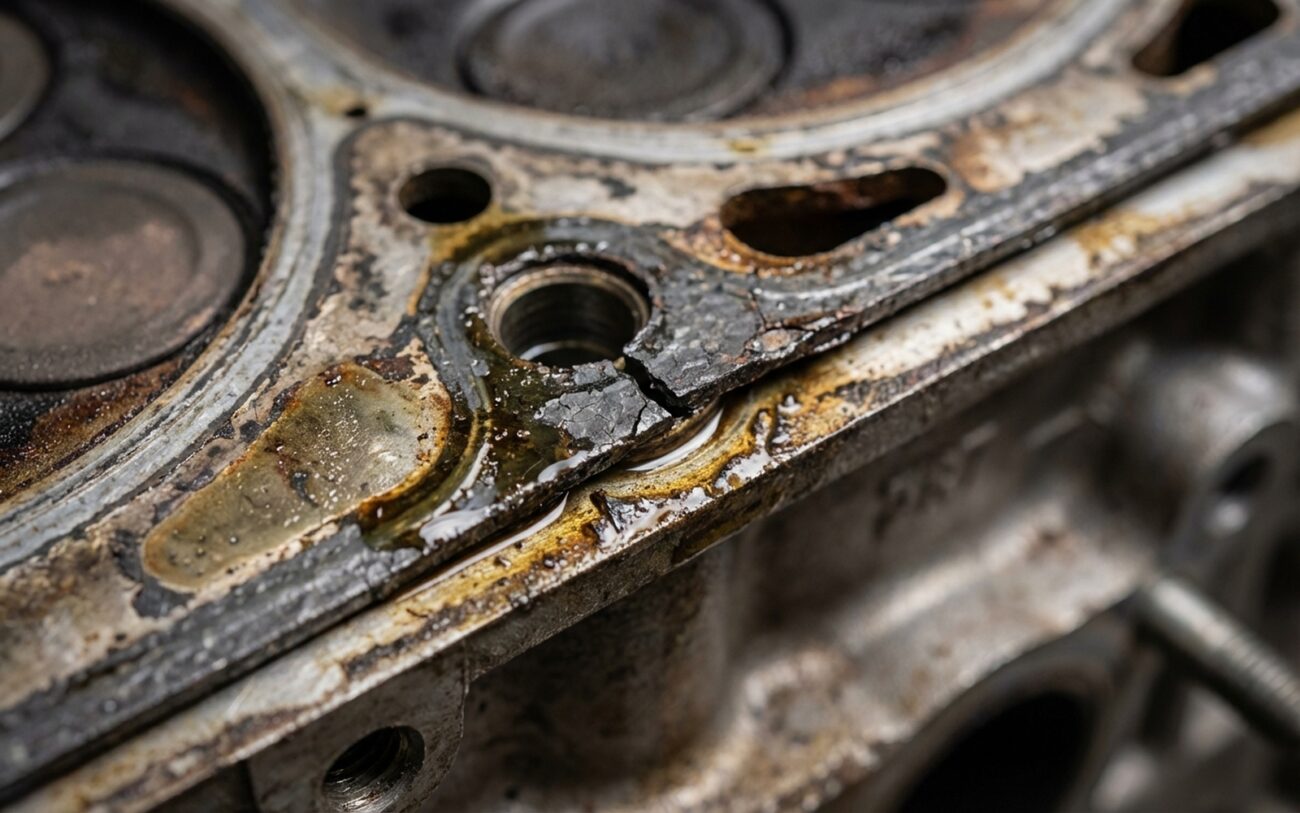
Alright, let’s talk about head bolts. In my 25+ years turning wrenches, I’ve seen countless engines come through the bay with what looks like a classic blown head gasket. But often, the real culprit isn’t the gasket itself failing, it’s the head bolts losing their grip. And believe me, they don’t send up a flare to let you know. This is a subtle, creeping problem that can fool even experienced mechanics if they’re not paying close attention.
The Early Warnings: What to Look (and Listen) For
The key here is gradual. These symptoms don’t usually hit you all at once. It’s a slow burn, a subtle progression that should immediately raise a red flag. When head bolts aren’t holding proper tension, that crucial clamping force on the head gasket starts to slip, and things slowly go south.
One of the first things I see is a steady, unexplained coolant loss. We’re talking about topping off the reservoir every few weeks, but there’s no visible leak on the ground. This isn’t a burst hose; it’s coolant getting pushed into places it shouldn’t be—combustion chambers or oil passages. That gasket just isn’t sealing tight enough anymore.
Then comes the rough running. You might notice intermittent misfires, especially when you’re putting the engine under load or at higher RPMs. If those misfires are on adjacent cylinders, that’s a huge clue. It tells me combustion pressure is leaking between those cylinders, past a gasket that’s not being held down evenly or tightly enough.
White smoke from the exhaust is another dead giveaway. Not just a puff on a cold morning, but a thick, sweet-smelling vapor that hangs around even after the engine’s warmed up. That sweet smell? That’s ethylene glycol, coolant burning right in the cylinders. It means coolant is breaching the gasket, usually when cylinder pressure is highest, like during acceleration.
And of course, the dreaded “milkshake.” Pull the dipstick or take off the oil cap, and you see that frothy, tan-colored sludge. That’s coolant and oil mixed. It’s happening because coolant has found its way past the gasket and into the oil passages or crankcase. This is bad news, folks. It dilutes your oil, kills lubrication, and can lead to spun bearings or a deep engine knock if you let it go too long.
Diagnosis: Confirming It’s the Bolts (and Not Something Else)
Look, every shop sees head gasket symptoms, but it’s a mistake to jump straight to loose bolts. I’ve had plenty of customers convinced they needed a new engine, only for it to be a bad intake gasket or a failing radiator cap. You’ve got to rule out the simpler stuff first. Always start with non-invasive tests before you even think about pulling a head.
This table breaks down how I approach differentiating these issues. The goal is to figure out if we’ve lost clamp load from the bolts or if it’s another problem entirely.
| Symptom | Why It Points to Loose Bolts | Common Mimics (Other Causes) | My Go-To Test |
|---|---|---|---|
| Gradual coolant loss, no external leak | The gasket isn’t getting enough compression from relaxed bolts, so coolant seeps into the combustion chamber or oil passages. | Intake manifold gasket leak, a pinhole in the heater core, a faulty radiator cap not holding pressure, or even a porous casting in the block or head. |
First, a cooling system pressure test (15–18 psi, check your cap). Then, use a combustion gas detector (often called a “block tester”). If the fluid changes color, you’ve got exhaust gases in the coolant, which points to a head gasket breach. |
| Oil contamination with coolant (“milkshake”) | Insufficient clamping force allows coolant to pass the gasket and mix with oil in the lifter valley or crankcase. | A cracked cylinder head or block, a failed oil cooler (especially on some Ford and GM models), or a transmission cooler leak (if it’s an internal cooler in the radiator). |
Coolant-in-oil test strips are a quick check. If you have an oil cooler, isolate it and bypass it temporarily to see if the problem stops. If not, you’re looking at a deeper issue. |
| Misfire on adjacent cylinders | The gasket isn’t sealing between cylinders due to uneven or reduced clamping force, letting combustion pressure leak. | A bad ignition coil, a clogged fuel injector, a vacuum leak, or even worn camshaft lobes (I’ve seen this on older OHC engines). |
Perform compression and leak-down tests on the affected cylinders. If you hear air escaping into a neighboring cylinder, or if you see bubbles in the coolant overflow while doing a leak-down, you’ve found your breach. |
Why Bolts Lose Their Grip: The Real Reasons
Head bolts don’t just “loosen” on their own. If you’ve lost torque, it’s always due to a specific mechanical or material issue. After two decades of tearing into engines, I can tell you the most common culprits.
Torque-to-Yield (TTY) Bolts and Reuse
Modern engines almost all use TTY, or “stretch” bolts. These aren’t like the old school bolts you could reuse. TTY bolts are engineered to stretch slightly during installation—you torque them to a spec, then rotate them an additional angle (like 90 degrees). This stretch creates a consistent, high clamping force. But once they’ve stretched, the metal has undergone plastic deformation. Reusing them is just asking for trouble. Over time, and with repeated heat cycles, that already-stressed bolt will relax further, losing its clamp load. It’s material fatigue, plain and simple.
Thread Issues, Especially in Aluminum
Aluminum blocks are notorious for thread problems because aluminum is softer than steel. The threads are cut directly into the casting, and if the bolt isn’t perfectly clean, dry, and properly lubricated during installation, you can get galling. That’s where the steel bolt microscopically welds itself to the aluminum. You might hit your torque spec on the wrench, but a lot of that energy went into overcoming friction, not actually stretching the bolt to create clamping force. So, the bolt feels tight, but the head isn’t pulled down correctly.
Thermal Cycling and Creep
Aluminum expands about twice as much as steel when it heats up. Over thousands of heat-soak and cool-down cycles, this differential expansion between the head, block, and bolts causes the bolts to “creep.” They gradually lose tension. It’s a silent killer—no sudden failure, just a slow degradation of the seal over the life of the engine.
Corrosion
Coolant can seep into blind bolt holes through tiny imperfections in the gasket or casting porosity. Over time, this leads to electrolytic corrosion of the threads, particularly in mixed-metal engines (like an aluminum head on a cast iron block). Corroded threads lose their friction and grip, leading to torque loss. I’ve pulled bolts that looked fine on the shank, but the threads were completely eaten away at the root.
It’s important to remember that not every head gasket failure is a bolt problem. A warped cylinder head from severe overheating? That’s a head distortion issue, even if the bolts are still tight. Or detonation/pre-ignition can blow a gasket regardless of bolt tension—the combustion forces simply exceeded the gasket’s capacity. In those cases, the bolts did their job; the gasket just couldn’t handle the abuse.
Technician’s Note: Known Issues
I’ve definitely seen documented cases of bolt torque relaxation in specific engines. For example, some V6 engines with aluminum blocks have a well-known pattern of coolant loss linked directly to head bolt relaxation after prolonged thermal cycling. There have even been service bulletins from manufacturers addressing exactly this issue, often recommending revised torque specs and mandatory bolt replacement. So, sometimes, it’s a known design characteristic, not just random failure.
The Fix: Your Repair Options (and My Advice)
This is Professional Territory
Let me be clear: unless you’re a seasoned wrench-turner with the right tools and a methodical approach, these aren’t weekend DIY jobs. Precision is key here.
Complete Head Removal and Rebuild Professional Only
Single Thread Repair Professional Only
Re-Torque on Non-TTY Bolts Professional Only
Temporary Sealant Use
Making Sure the Fix Actually Worked
I’ve seen too many comebacks from shops that skip post-repair testing. You’ve just invested a lot of time and money—don’t cut corners on the validation. Here’s my process for verifying every head gasket repair:
First, check for external leaks. Run the engine through at least three full heat cycles: cold start to full operating temperature, then back to cold. Inspect the head-to-block interface for any seepage. If you added UV dye to the coolant, use a black light to catch even the tiniest weep.
Next, test for internal leaks. With the engine at operating temperature, use a combustion gas detector (block tester) at the radiator neck. Let the engine idle for a couple of minutes. No color change in the fluid means no exhaust gases in the coolant—that’s a good sign.
Then, pressure-test the cooling system. Pump it up to the cap’s rated pressure and let it sit for at least 30 minutes. Any drop in pressure indicates a leak, either external or internal. Combine this with a cold leak-down test on each cylinder. You’re looking for less than 10% leakage across the board. Listen carefully: if you hear air hissing into the coolant overflow or an adjacent spark plug hole, the gasket isn’t sealing.
Finally, perform a compression test. All cylinders should be within 10% of each other. Consistent, strong readings across all cylinders confirm proper sealing and that you’ve got good clamp load. The tools you’ll need? A cooling system pressure tester, a block tester kit, a compression gauge, and a leak-down tester. These are the same tools you used for diagnosis—now they’re your peace-of-mind tools.
The Hard Numbers: Cost, Risk, and Making the Call
Let’s be realistic. A proper head gasket repair isn’t cheap. The decision to proceed really depends on the car’s value, its overall condition, and your long-term plans for it. Here’s a breakdown of typical costs and what you can expect.
| Repair Type | DIY Cost (Parts) | Shop Cost (Parts & Labor) | Success Rate (If Done Right) | Secondary Risk if It Fails |
|---|---|---|---|---|
| Complete head removal, resurface, new gasket & TTY bolts | $800–$1,500 | $2,500–$4,000+ | 95%+ | Hydro-locking a cylinder, bearing failure, or complete engine seizure. |
| Thread repair for single bolt hole | $150–$300 | $500–$1,000 | 98%+ | The bolt loosening again, repeated gasket failure, or head warping if the clamp isn’t restored evenly. |
Here’s how I counsel customers: if the repair cost is more than 50% of the vehicle’s current clean trade-in value, and the car has high mileage or other major issues—like a worn transmission or significant oil consumption—it’s time to weigh your options very carefully. A $3,500 repair on a $4,000 car isn’t always the wisest move, even if it’s mechanically sound otherwise. Sometimes, a good used long-block or a new crate engine is the more economical path. But if the rest of the car is solid, and you plan to keep it for years, then investing in a proper repair can absolutely make sense. Just make that decision with your eyes wide open.
Preventing This Problem in the First Place
So, the big question: when should you check cylinder head bolt torque on a modern engine? The short answer: never, as a routine maintenance item. There’s no factory-recommended interval for checking or re-torquing head bolts on an engine that’s never been disassembled. The system is designed to last the life of the engine—if it’s maintained properly.
My Top Prevention Tips
-
Avoid overheating at all costs. Every thermal cycle stresses the head, block, and bolts. If your temperature gauge spikes, shut that engine down immediately. Don’t try to “make it home.”
-
Use the correct coolant. OEM-specified, with the right mix of water and antifreeze. This prevents electrolytic corrosion in aluminum threads and keeps your cooling system happy.
-
Check your coolant level monthly. A slowly dropping reservoir is your absolute earliest warning system. Catch it early with a pressure test.
-
When the engine is apart, replace TTY bolts every single time. Clean every bolt hole with a thread chaser and follow factory torque sequences exactly. No shortcuts here.
And for those running high-performance or forced-induction engines, consider upgrading to aftermarket head studs like ARP. Many pros do this on turbocharged or supercharged builds because they offer superior clamping force and are reusable, unlike TTY bolts. It’s an investment that can save you a lot of headaches down the road.
