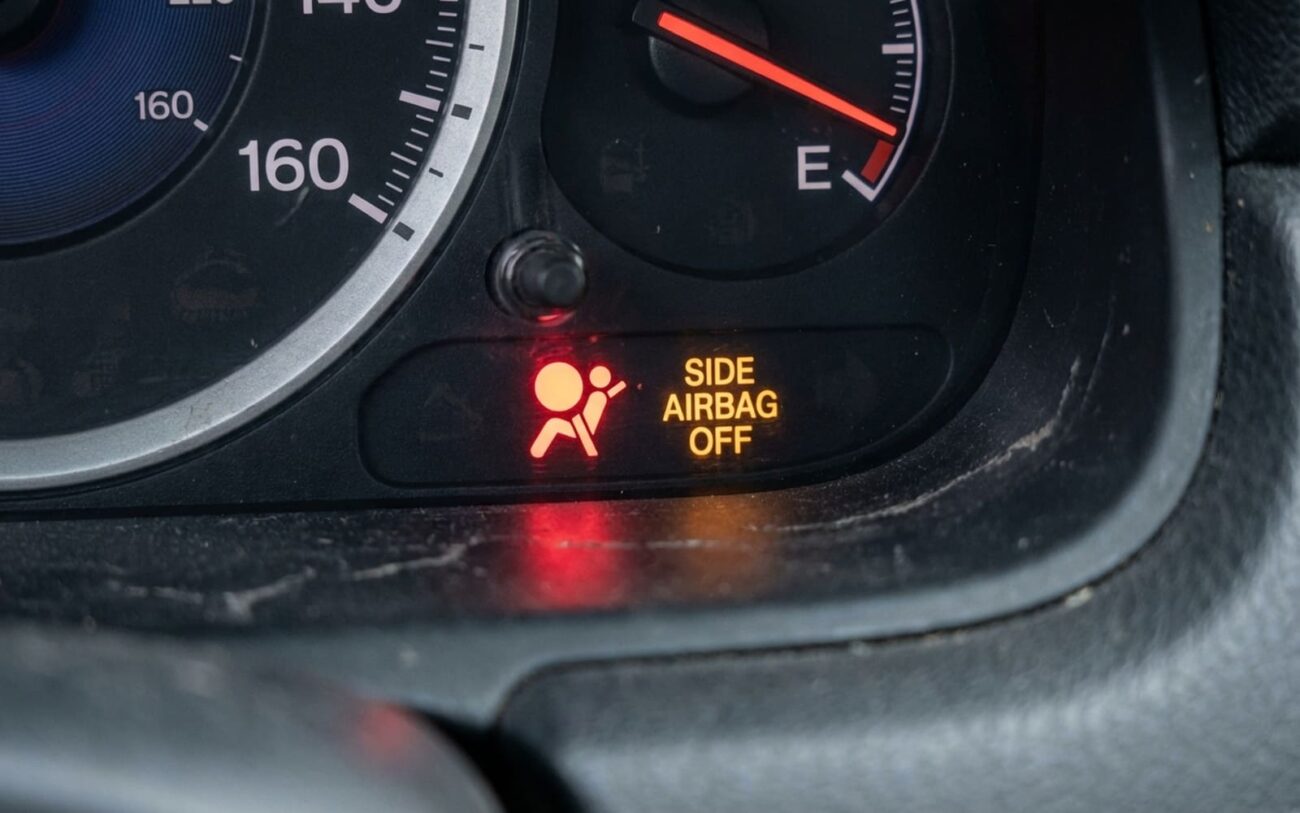
You swap in a set of aftermarket seats—looks great, feels snug, and then the SRS light fires up and won’t quit. That’s not a glitch. That’s your car telling you the airbags are disabled. And in my 25 years turning wrenches, I’ve seen more than a few customers treat it like a dashboard annoyance. It’s not. It’s a life-safety system failure. Let me walk you through how I diagnose and fix this—no fluff, just what works.
SRS Light On? Here’s What It Means
If the SRS light is on or flashing after a seat swap, the airbag control module has logged a hard fault. Period. The system runs a self-check at every key-on cycle. If it doesn’t see the expected resistance from the side airbag circuit—usually between 2.0 and 3.0 ohms—it disables the circuit and lights up the dash. No guessing needed.
On most vehicles—especially Toyotas, Hondas, and Fords from the last 15 years—the most common codes you’ll pull are “Open Circuit,” “Resistance High,” or “Short to Ground” on the driver or passenger side. These aren’t vague warnings. They’re electrical faults in the airbag squib circuit. And yes, that means the side airbag won’t deploy in a crash. Some cars even disable the front airbags if a side circuit fails. That’s not theoretical—that’s what I’ve seen on the scope.
Is It the Seat or the Car? How to Tell
First thing I do: clear the codes with a professional-grade scan tool—something that actually talks to the SRS module, not just the engine ECU. Then I reconnect the factory seat connector (the one under the seat) and power up. If the code comes back immediately, I know the fault is still present.
Next step: resistance check. I disconnect the battery, wait 15 minutes (SRS capacitors need to drain), then measure across the two airbag pins on the vehicle-side connector. Factory spec is almost always 2.0–3.0 ohms. If I get “OL” (open loop), that means the circuit is broken. If I get 2.3 ohms with the seat plugged in, that’s good—probably a working simulator. But if it’s 5 ohms or 0.8 ohms, that’s out of spec, and the module will reject it.
And don’t forget the visuals. I check the side bolster. If there’s no seam, no tear stitching, no “AIRBAG” label—chances are the seat doesn’t have a side airbag. That’s fine, but you still need a simulator resistor to close the circuit. I’ve pulled seats that claimed to be “plug-and-play” with zero resistor inside. Marketing lie.
Four Real Causes (And How I Fix Each)
1. No Airbag, No Simulator
Most common issue. Seat lacks both the airbag and the resistor. The circuit is open. Car throws a code. Simple.
I fix it by installing a 2-watt, 2.2-ohm precision resistor (±5%) across the correct pins on the vehicle-side connector. Never on the seat side. I solder it in, use heat-shrink, and strain-relieve the wires. Guessing the value? That’s how you end up with a disabled system. Check your service manual—on a 2018 Camry, it’s 2.1 ohms. On a Civic, it’s 2.3. Close isn’t good enough.
2. Bad or Wrong Simulator
Some seats come with a resistor, but it’s junk. Maybe it’s 1 ohm, maybe it’s rated for 0.5 watts. Vibration kills it in six months. I’ve tested them cold and hot—resistance drifts all over.
I pull the connector, measure it with a DMM. If it’s not within spec, I replace it. I use Bosch-grade or Delphi-spec resistors—real parts, not eBay specials. Reconnect, clear codes, done.
3. Connector Doesn’t Match
Even if the seat has the right components, the plug might not. I’ve seen adapters where the squib wires are reversed. Or missing. Or crimped poorly. On a 2016–2020 Mustang, the airbag pins are 3 and 4—but some universal harnesses put them on 1 and 2. You get continuity, but the module sees a short.
I check pinout against the factory diagram. Every time. I don’t assume. I use a terminal removal tool, repin if needed. And I test before bolting the seat down.
4. You Crushed the Wiring
This one’s on us. When you slide the seat forward or back during install, the factory pigtail can get pinched under the track. I’ve seen melted insulation, broken conductors, even severed wires.
If the resistance test shows open circuit and the seat checks out, I pull the seat and inspect the harness. Look for kinks, pressure marks, fraying. If it’s damaged, you’re looking at a harness repair—not a splice with butt connectors. Use OEM-style crimp-and-seal terminals. And yes, it’s a pain. But it’s safer.
How I Fix It (And What I Charge)
Seat lacks simulator: DIY-FEASIBLE ONLY WITH PRECISE SPECIFICATIONS
Failed simulator: DIY-FEASIBLE
Wiring damaged during install: PROFESSIONAL-ONLY
Validation: Did It Actually Work?
Don’t just look for the light to go out. Test it.
-
Key ON, engine off: SRS light should illuminate for 6–8 seconds, then go out.
-
Repeat through 3–5 drive cycles. Watch for flickering or delayed shutdown.
-
Scan tool: Confirm no active or pending codes in the SRS module.
-
If available, check live data. Look for “System Normal” or “OK.”
If the light comes back, it’s not fixed. Most often: bad solder joint, wrong resistor, or pinched wire you missed. Go back. Test every connection. This system doesn’t forgive shortcuts.
Prevention: Do It Right the First Time
When buying aftermarket seats, ask: “Does this include a vehicle-specific simulator with documented resistance?” If they can’t answer, walk away. I only install seats from vendors who provide plug-and-play harnesses with TÜV or ISO certification. Not because I’m picky—because I’ve cleaned up too many messes from “universal fit” junk.
And here’s a pro tip: test before final install. Leave the seat unbolted. Plug it in. Power up. Watch the SRS light. If it stays on, fix it now—while you can still reach the connector without crawling under the seat.
After install, monitor for 10 ignition cycles. Most faults show up fast. If the light stays out, you’re good. But never assume. Your airbag system is as critical as your brakes. Treat it that way.
