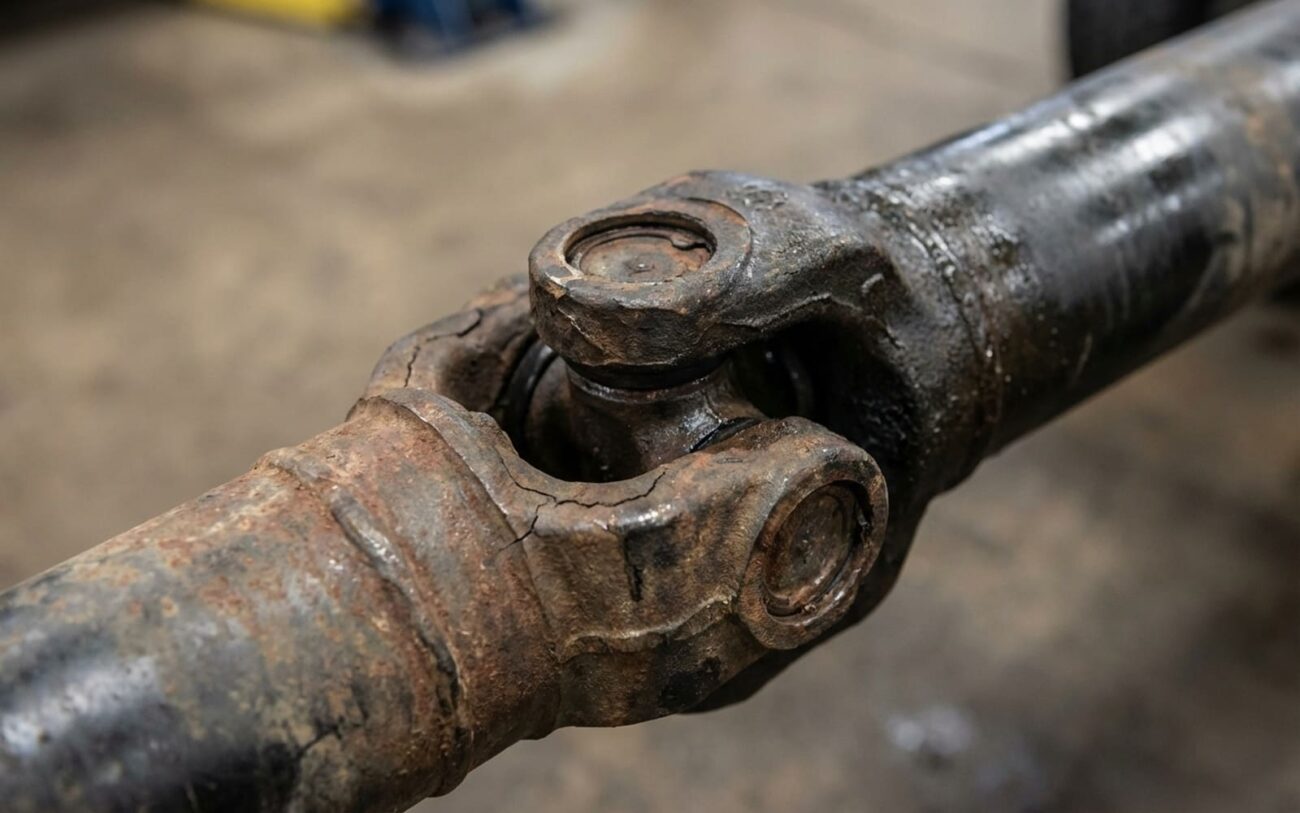
You know that feeling, right? You’re cruising down the highway, maybe around 55, 60, sometimes 70 mph, and your whole vehicle starts to hum and shake. It’s not a light shimmy in the steering wheel – that’s usually a tire issue. This is deeper, more resonant. You feel it through the seat, the floor, sometimes even the center console. It’s a low-frequency buzz that builds with speed, the kind that can make your teeth rattle on a long trip. In my 25+ years turning wrenches, that’s almost always a classic sign of driveline vibration, and a driveshaft imbalance is a prime suspect.
First Things First: Confirming It’s the Driveline
The key to diagnosing a driveshaft issue versus, say, an engine problem, is how the vibration behaves. If it’s a driveshaft, that vibration is going to be consistent with vehicle speed, not engine RPM or load. Here’s the test I always start with:
Get the vehicle up to the speed where the vibration is at its worst – let’s say 60 mph. Once you’re there, carefully shift into neutral and let off the throttle. If that vibration remains just as strong while you’re coasting, then it’s almost certainly tied to something rotating at driveline speed. That points squarely to the driveshaft, wheels, or tires. If it goes away or changes significantly, you’re probably looking at an engine or transmission issue.
Another big red flag is a rhythmic thumping or a “whump-whump” noise that pulses right along with the shake. I’ve seen this misdiagnosed as a tire problem more times than I can count in my shop. But when I hook up a vibration analyzer, it usually tells the real story: the harmonic frequency peaks around 60-70 Hz at highway speeds, and that frequency is directly proportional to driveshaft RPM. That’s a clear indicator the problem is behind the transmission.
Ruling Out the Usual Suspects: Imposters and False Alarms
Before you even think about touching the driveshaft, we always rule out the easy stuff. And by “easy stuff,” I mean tires. Plenty of issues can mimic a driveshaft vibration, and jumping straight to a driveshaft repair without checking the simpler, cheaper causes first is just throwing money away. A separated tire belt, an out-of-round wheel, or even just a tire that’s badly out of balance can create symptoms almost identical to a driveshaft problem. I’ve had customers come in convinced they needed a new driveshaft, only to have the vibration disappear after a proper road force balance. Save yourself the headache and the cash—start simple.
This table gives you a quick roadmap for what I look for to differentiate a driveshaft issue from its common imposters:
| Symptom | Likely Driveshaft Cause | Common Look-Alikes | My Diagnostic Approach |
|---|---|---|---|
| Vibration at 55–75 mph, felt in seat/floor | Driveshaft imbalance, missing balance weight, dented tube | Tire/wheel imbalance, radial runout, curb damage |
Always start with a road force balance. If the vibration persists, then I use a vibration analyzer to check frequency against vehicle speed. |
| Vibration present during coasting in neutral | Driveshaft imbalance, bent tube, manufacturing defect | Failing transmission output shaft bearing, worn pinion bearing |
After the road test, I’ll get the vehicle on a lift and use a dial indicator to check for any runout or wobble in the driveshaft tube. |
| Cyclic thumping or rhythmic noise | Loose U-joint straps, damaged U-joint, out-of-phase yokes | Flat-spotted tires, internal tire separation |
Visually inspect the driveshaft for dents, missing balance weights, and check U-joints for any play by hand. |
Pinpointing the Problem: What’s Actually Wrong with the Driveshaft?
Alright, so you’ve ruled out tires, wheels, and other driveline support components like U-joints and carrier bearings. Now the focus shifts squarely to the driveshaft itself. A true imbalance means the driveshaft’s mass isn’t evenly distributed around its rotational axis. As that shaft spins faster, this uneven weight creates centrifugal force, and the faster it goes, the worse that vibration gets—classic driveshaft harmonics.
Here’s what I typically find when a driveshaft is the real culprit:
-
Missing Balance Weights: These are usually small, welded-on clips or weights. They can fall off due to corrosion, getting smacked by road debris, or just poor adhesion from the factory. Even one missing weight can throw things way off.
-
Tube Dents or Bends: It doesn’t take much. Even a minor dent—less than 1/8 inch deep—can disrupt the mass distribution enough to cause a noticeable vibration. Hitting a pothole or a curb can do it.
-
Weld or Yoke Misalignment: This is a manufacturing defect. If the U-joint yoke isn’t welded perfectly straight to the driveshaft tube, you’ve got a permanent imbalance that can’t really be corrected with just weights.
-
Wall Thickness Variation: This is another manufacturing quality control issue, often seen in aluminum shafts. Inconsistent wall thickness means the weight isn’t uniform along the shaft, leading to imbalance that can show up over time.
Real-World Example:
I remember a batch of Ford Mustangs from the mid-2000s that had this exact issue. Owners were complaining about vibrations between 60–80 mph. Turns out, it was often due to balance inconsistencies in their aluminum driveshafts. Ford eventually issued service bulletins, telling dealers to inspect and either rebalance or replace the affected units. It happens.
The Fix: Rebalance or Replace?
So, you’ve got a confirmed driveshaft issue. Now what? Your options usually boil down to two things, and which one you pick depends on the damage.
This Ain’t a DIY Job
Let’s be clear: driveshaft balancing is not something you can do in your driveway. It requires specialized, precision equipment like a Hunter DSP600 or similar dynamic balancer, and a technician with specific training to ensure the shaft is perfectly centered and weighted. Without that, you’re just guessing.
Driveshaft Rebalancing Professional Only
Full Assembly Replacement
Confirming the Repair: How I Know It’s Fixed
A proper repair should eliminate the vibration completely – not just make it a little better. If you still feel anything, it’s not fixed. The best way to verify is with a calibrated test drive on a smooth highway, ideally the exact stretch of road where you first noticed the problem. I’ll take it through the entire speed range where the vibration used to occur.
My Post-Repair Checklist:
-
If I’m using a vibration analyzer, the readings in the 55–70 mph range should be below 0.12 inches per second. Anything higher, and I’m still looking.
-
Subjectively, that buzz through the seat and floor? It should be entirely gone. Not reduced, gone.
-
I always double-check that all U-joint straps are properly torqued and that the driveshaft is correctly phased. It’s easy to miss something small, and those small things cause big problems.
The Bottom Line: Cost, Risk, and Value
Alright, let’s talk brass tacks. What’s this going to cost you, and what are the risks if you don’t do it right? Here’s a general breakdown based on what I see in the shop:
| Repair Type | DIY Cost | Shop Cost | Success Rate | Risks If Not Done Right |
|---|---|---|---|---|
| Rebalance | N/A (Don’t try this at home) | $150 – $300 | 95%+ | Continued vibration, accelerated wear on U-joints, transmission, and differential. |
| Replacement | $400+ (for parts only) | $800 – $1,500 | 98%+ | Severe vibration if the new shaft isn’t properly phased or torqued. |
Prevention and Early Detection: Stay Ahead of the Problem
The best prevention is always routine visual inspection. Every time your car is up on a lift—whether it’s for an oil change, a tire rotation, or a brake job—take 30 seconds to look at the driveshaft. It’s a simple habit that can save you a lot of grief down the road.
-
Check for any new dents, bends, or signs of missing balance weights.
-
Look for grease leaks around the U-joints or the center support bearing (if your vehicle has one). That’s a sign of wear.
-
Grab the driveshaft and try to wiggle it by hand. You shouldn’t feel any excessive play, especially in the U-joints.
